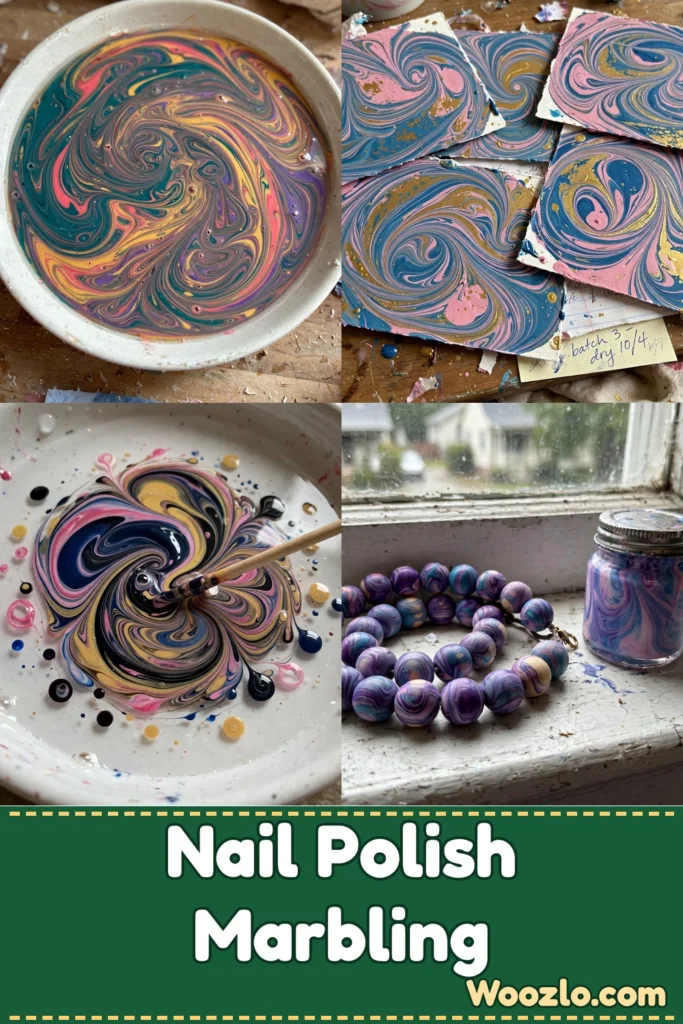
Gentle Marbling Crafts with Nail Polish for Simple, Creative Fun
Watching nail polish swirl across the surface of warm water — colors fluttering, twisting, and mingling in mesmerizing patterns — is one of the most calming craft techniques you can try. Marbling with nail polish turns simple paper, wood, or glass into striking pieces of art, and the slow, intentional process is half the joy.
It takes about 10 minutes of prep and a quiet afternoon of focus. Since nail polish has fumes, always work in a well-ventilated area, wear gloves, and supervise kids closely (consider non-toxic options or washable paints for younger children).
Materials You’ll Need
- Nail polish (multiple colors — glitter polish adds a captivating sparkle)
- A shallow dish (don’t reuse it for food afterward)
- Warm water
- Stir sticks or toothpicks
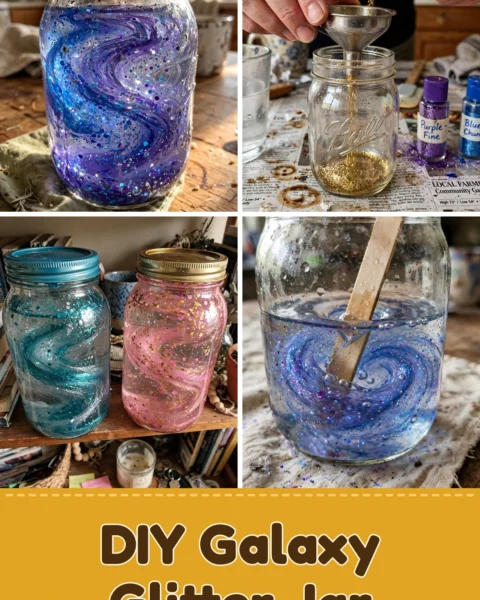
- Paper or other objects to marble (paper, wood pieces, or glass jars)
- Gloves (optional, for easy cleanup)
Step 1: Fill the Dish
Pour warm water into the shallow dish, filling it about halfway. The warmth helps the nail polish spread easily, creating beautiful patterns.
Step 2: Drop the First Color
Open your first bottle of nail polish and gently drop a small amount onto the surface of the water. Observe how it spreads and floats, creating a mesmerizing pattern.
Step 3: Layer More Colors
Continue adding drops of different colors, allowing each layer to rest briefly before adding the next. Take a moment to appreciate the interplay of hues as they merge and blend.
Step 4: Swirl the Design
Use a stir stick or toothpick to gently swirl the colors together. Move slowly and deliberately, noticing how the patterns change with each stroke.
Step 5: Dip Your Object
Once you’re pleased with the design, carefully place your chosen paper or object onto the surface of the water. Hold it there for a few seconds, allowing the polish to adhere.
Step 6: Lift and Dry
Lift it off slowly and place it aside to dry. Be mindful of the moment, enjoying the beauty of your creation.
Enjoying the Finished Piece
The swirls of color can turn everyday items into striking pieces of art — display on a shelf, use as a decorative card, or give as a thoughtful gift.
Storage and Reuse
Store marbled creations in a dry, cool place away from direct sunlight. Repurpose projects by cutting them into smaller pieces for gift tags or bookmarks.
Tips and Variations
- Experiment with finishes: Glitter polish or different textures change the marbling effect.
- Try different surfaces: Wood or glass interact with the polish in unique ways.
- Adjust water temperature: Cooler water can yield different, interesting results.
- Embrace spontaneity: Let the colors flow naturally rather than striving for perfection.
Quick Questions
What surfaces can I marble? Paper, wood, or glass — each material reacts differently, producing unique results.
Is nail polish safe for kids? Supervise closely and consider non-toxic options or washable paints for younger kids.
How do I clean up? Use acetone-based nail polish remover, work in a well-ventilated area, and wear gloves.