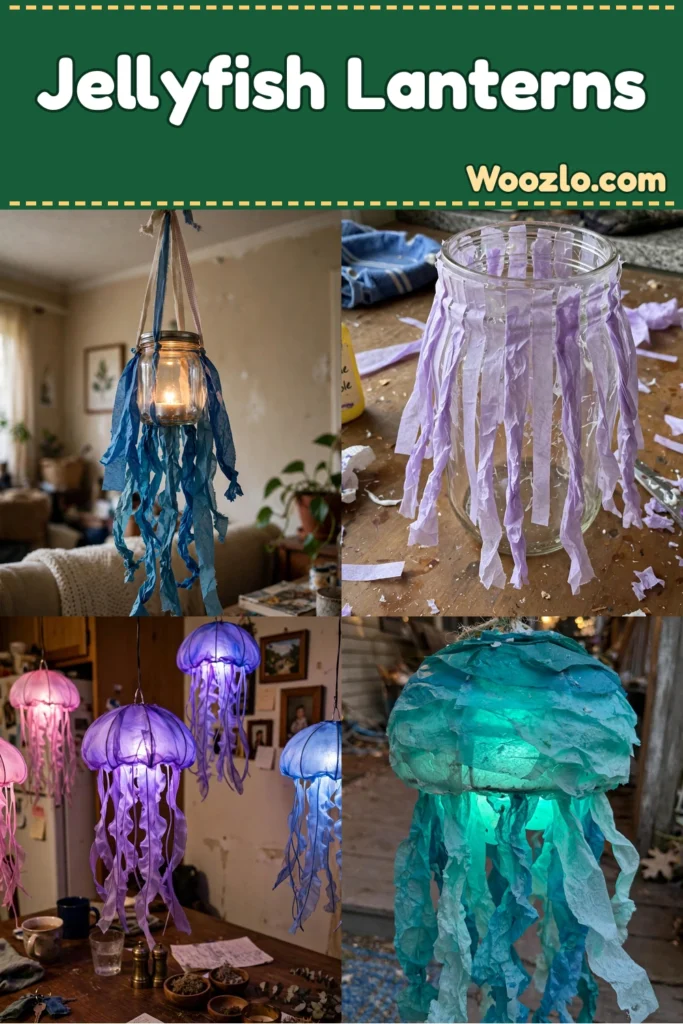
Transform Your Space with Stunning DIY Jellyfish Lanterns
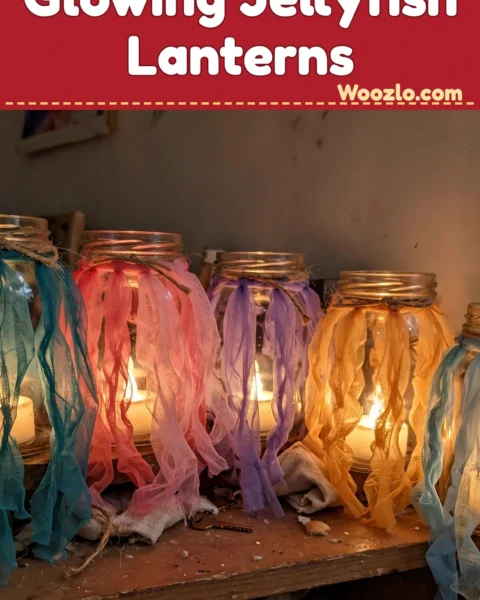
Imagine the gentle flicker of light cast by a jellyfish lantern as it sways softly in the air — reminiscent of a calm ocean tide. These jar-based jellyfish lanterns turn clear containers into dreamy, floating creatures that cast soft patterns of light across your space.
It’s a rhythmic, meditative process: cutting tissue paper, letting it billow like tentacles around a jar, threading ribbons. They work indoors or outdoors on a warm evening — a cozy corner in a reading nook, floating above a dining table, a touch of magic outside.
Materials You’ll Need
- Clear plastic jars or glass containers (any size works well)
- Tissue paper or lightweight fabric (colors that inspire calm)
- Scissors
- Battery-operated tea lights (for safety and ease)
- String or ribbons for hanging (soft and gentle to the touch)
- Glue or tape (for your adhesive needs)
- Optional: decorative elements like beads or glitter
Step 1: Prepare Your Space
Create a peaceful workspace. Gather all your materials and settle into a comfortable area where you can focus.
Step 2: Cut the Paper
Take your tissue paper or fabric and cut it into strips or circles. Aim for a variety of sizes to mimic the natural shapes of jellyfish.
Step 3: Shape the Lantern
Place a battery-operated tea light inside the jar. Then glue the paper pieces around the jar, allowing them to billow and flow like tentacles.
Step 4: Add the Ribbons
Attach string or ribbons to the top of the lantern. Tie gentle knots — this gives it a charming touch and makes it easy to hang later.
Step 5: Illuminate
Turn on the tea light. The soft glow reflects beautifully through the materials, imitating the serene light beneath the sea.
Step 6: Find the Perfect Spot
Decide where to hang or place your jellyfish lanterns. Whether indoors or outside, let their gentle light create a calming ambiance.
Enjoying the Finished Piece
Stand back and watch them cast soft patterns of light — floating above a dining table during a gathering, gracing a reading nook, or swaying gently on a warm evening. The warmth they bring fosters connection: a quiet dinner with a loved one, a soothing moment to unwind alone.
Storage and Reuse
When the glowing moment passes, remove the tea lights and pack the lanterns carefully in a soft container — tissue paper between them prevents crushing. They can find new life each season: change colors and styles to match your mood or the time of year, or repurpose the jars and fabrics in future projects.
Tips and Variations
- Color play: Layer different shades of tissue paper for an ombre effect — it adds depth and beauty.
- Natural elements: Incorporate dried flowers or leaves for a more organic, earthy feel.
- Light variations: Colored LED lights give a more vibrant glow for different moods.
- Theme options: Blues and greens for summertime, soft pastels for spring.
- Family activity: Each person can craft their own lantern — bonding through shared creativity.
Quick Questions
Can I use real candles? For safety, stick with battery-operated tea lights. They offer a soothing glow without fire hazards.
How long do the lanterns last? Stored properly, they can last for years, bringing joy to your space.
What if I don’t have a jar? Use any clear container — glass jars, vases, or even small bowls work beautifully.
Can kids help? Absolutely! Younger children can help with gluing or selecting colors; older ones can manage cutting and assembling.
Will the paper fade in sunlight? Tissue paper may fade with extended direct sun exposure — place your lanterns in shaded areas to keep them vibrant.