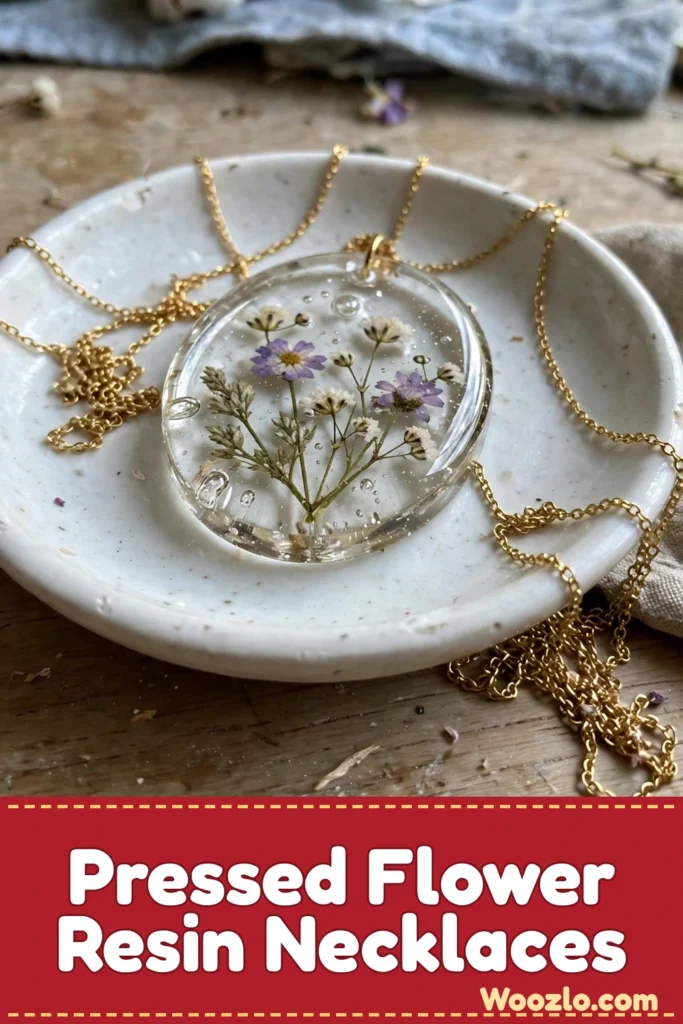
Create Delicate DIY Pressed Flower Resin Necklaces
There’s something so lovely about carrying a piece of nature with you. These pressed flower resin necklaces turn small dried blooms into elegant, glassy pendants — perfect for wearing, gifting, or simply keeping a memory close.
Resin crafting might sound intimidating, but the process is forgiving: press the flowers, mix the resin, layer them in a mold, and let it cure. Choose flowers that mean something to you — a bouquet from a special occasion, a wildflower from a peaceful walk — and the necklace becomes a little story you can wear.
What You’ll Need
- Dried flowers (small blooms work best)
- Epoxy resin (available at craft stores)
- Mixing cups (disposable works well)
- Stir sticks (popsicle sticks are perfect)
- Necklace chains or cords (adjustable options are great)
- Silicone molds (to shape your necklaces)
- Gloves (to protect your hands)
- A scale (for precise resin measurement)
- Rubbing alcohol (for cleaning tools)
- Tweezers (for precise flower placement)
Step 1: Prepare Your Flowers
Gently press your dried flowers between the pages of a heavy book or in a flower press to flatten them.
Step 2: Set Up Your Workspace
Cover your work area with an easy-to-clean surface, arrange materials within reach, and ensure proper ventilation.
Step 3: Mix the Resin
Wearing gloves, measure the resin and hardener per package instructions, stirring slowly to avoid bubbles while ensuring it’s well combined.
Step 4: Pour the First Layer
Pour a thin layer of the mixed resin into your silicone mold — this acts as the base for your flowers.
Step 5: Place Your Flowers
Using tweezers, arrange the dried flowers in the resin, taking your time with positioning.
Step 6: Add More Resin
Gently pour additional resin over the flowers until fully covered, pouring slowly to avoid bubbles.
Step 7: Cure the Necklace
Allow the resin to cure per the manufacturer’s instructions (most cure in about 24 hours; some take several days) in a dust-free area.
Step 8: Remove from the Mold
Once cured, gently flex the mold to release your necklace — it should come out with a lovely shine.
Step 9: Finish with a Chain
Attach your necklace chain or cord, adjusting the length to your preference.
Tips from My Workbench
- Try different flowers: Explore textures and colors — violets in spring, leaves in autumn for seasonal themes.
- Add sparkle: Small bits of glitter or colored mica in the resin create a sparkling effect.
- Make a set: Craft matching earrings or keychains for a cohesive look.
Good to Know
Fresh vs. dried: fresh flowers release moisture into resin, causing bubbles — dried flowers give the best results. Bubbles? Gently heat the surface with a heat gun or wait for bubbles to rise before the next layer. Quicker alternative: clear polymer clay encapsulates flowers without the curing time. Water: avoid exposing resin to water for long periods — remove before showering or swimming. Storage: keep in a cool, dry place away from direct sunlight to prevent fading. Gifting: nestle it in a little box with crinkled paper for a sweet presentation.
Source inspiration: dogsrecipes.com — DIY pressed flower resin necklaces.