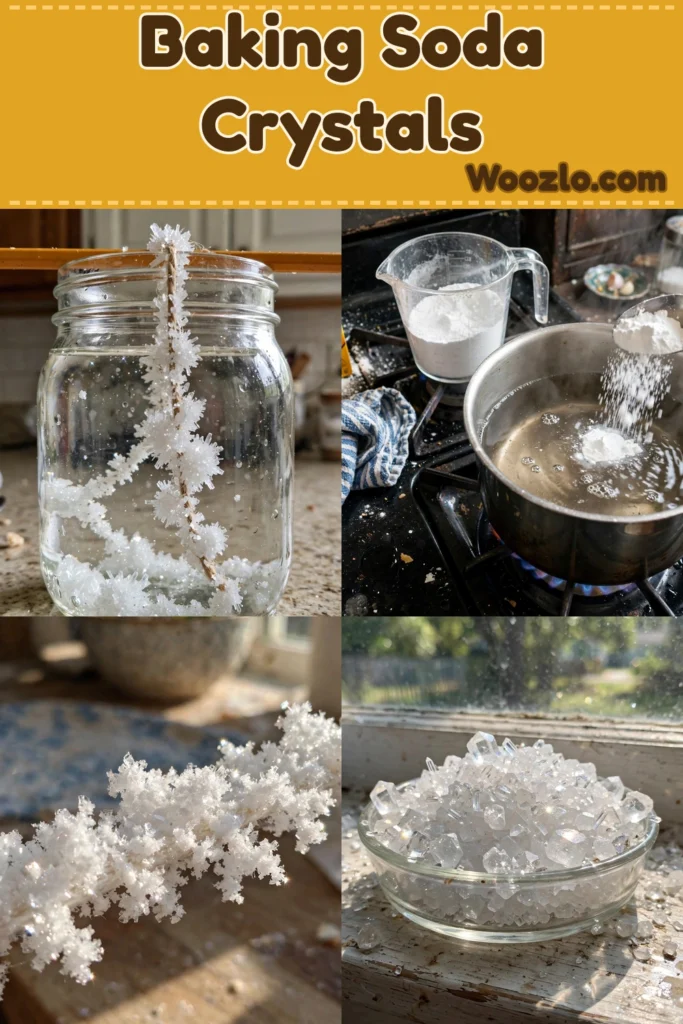
Grow Stunning Baking Soda Crystals: A Fun Science DIY for Kids!
Are you looking for a craft that secretly teaches science? These sparkling baking soda crystals are it! Kids get to stir, observe, and wonder — and the payoff is dazzling: crystal formations growing right along a dangling string, full of shine and texture.
It’s a wonderful mindfulness-meets-science project: the gentle sound of warming water, granules slipping through fingers, and the slow anticipation of watching something beautiful come to life. Set it up, then check back in a few hours or overnight. Remember — these crystals are beautiful to observe but not meant for eating!
Materials You’ll Need
- Baking soda (you probably already have it in the kitchen)
- Water
- A heat-resistant container (like a glass jar or bowl)
- String (cotton or a natural option — about 12 inches)
- A pencil (for suspending the string)
- A small saucepan (for heating the water)
- Scoop or measuring cup
- A stirring tool (like a spoon)
- Optional: food coloring for added visual interest
Step 1: Warm the Water
Start by heating 1 cup of water in your saucepan over low heat. Let it warm quietly.
Step 2: Add Baking Soda Slowly
Once the water is warm, begin adding baking soda — stir in 1 tablespoon at a time, observing how it dissolves into the water. You may notice a subtle fizz, a delightful reminder of the transformation taking place.
Step 3: Reach Saturation
Keep adding baking soda until the water no longer absorbs it — the mixture will feel thick and slightly cloudy. That’s the saturation point.
Step 4: Pour into the Container
Carefully pour the mixture into your heat-resistant container. Notice the warm vapors rising and the texture within the glass.
Step 5: Set Up the String
Cut a piece of string about 12 inches long. Tie one end to your pencil and place the pencil across the top of the container, letting the string dangle into the liquid.
Step 6: Find a Warm, Quiet Spot
Place your container in a warm, undisturbed area. This is where the magic happens — as the solution cools, crystals will begin forming along the string.
Step 7: Let Them Grow
Allow this to sit patiently for a few hours or overnight. Generally, 4–6 hours yields small crystals, while overnight produces larger formations. Check in gently now and then — patience is key.
Step 8: Dry the Crystals
When the crystals have formed to your liking, carefully remove the string and let the crystals dry on a paper towel.
Step 9: Admire Your Work
Once dry, observe their shimmer and beauty. Place them in a clear dish, hang them in a sunny window, or frame them with natural elements like twigs or stones. They make wonderful gifts, too — a little piece of wonder.
Storage and Reuse
Keep crystals in a container that limits humidity exposure, since moisture can dissolve them over time. A small glass jar with a lid keeps them safe while letting you view their dazzling shapes. To refresh, simply rinse the crystals to clear away dust — the baking soda can be reused.
Tips and Variations
- Add color: A drop of food coloring in the solution gives a vibrant, captivating twist.
- Experiment with shapes: A wider container yields broad, flat formations; a narrower one creates taller, more delicate crystals.
- Adjust crystal height: A longer string allows a taller crystal formation with an ethereal, delicate look.
- Double the batches: Make multiple batches in different colors or sizes for a delightful arrangement.
Quick Questions
Can I use different types of string? Cotton works best since it absorbs water easily; other natural fibers work too. Avoid synthetic strings, which may not draw the liquid well.
How long should I let the crystals grow? It depends on your preference — 4–6 hours for small crystals, overnight for larger formations.
What if no crystals form? It may be over-saturation — let it sit longer, or reduce the amount of baking soda next time.
Can I eat the crystals? No — these baking soda crystals are not meant for consumption. They’re beautiful to observe, but should not be ingested.
How can I display them? Use a clear dish, place them where they catch the light, or frame them with twigs or stones.