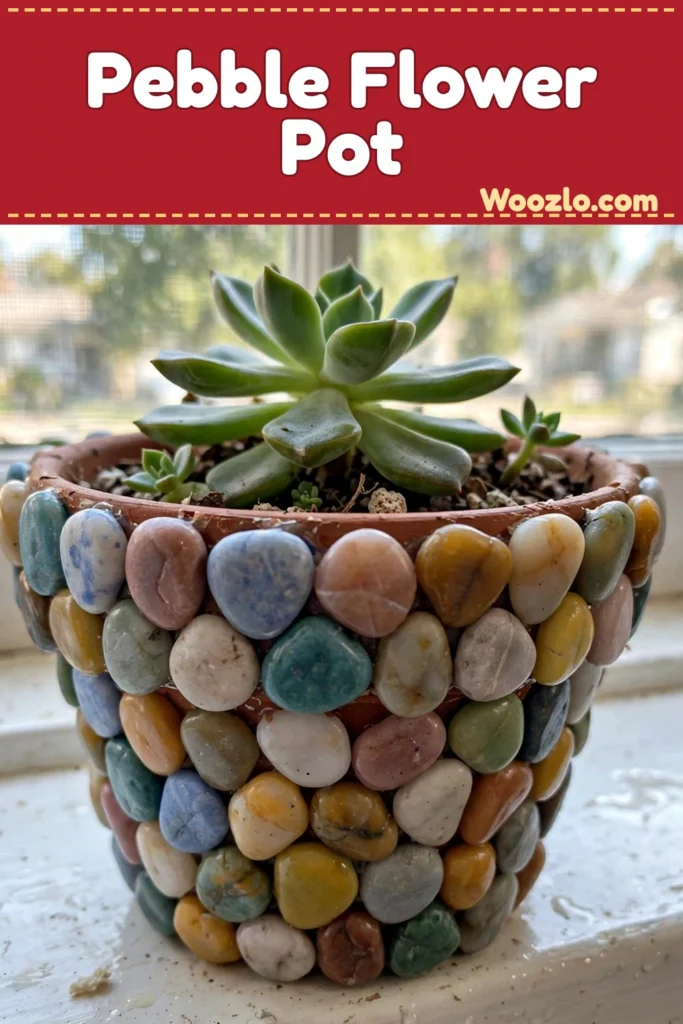
Create a Stunning DIY Pebble Flower Pot for Cozy Home Decor
Are you looking for a simple, inexpensive craft that doubles as home decor? This DIY pebble flower pot is it! All you need is a plain flower pot, a bag of smooth pebbles, and a hot glue gun. My kids love picking out the pebbles — every stone is different, and arranging them feels like a little treasure hunt.
The best part? It’s super cheap and easy. Grab a pot you already own, and the whole project costs almost nothing. It takes about an hour of gluing plus an hour of drying, and it makes the sweetest handmade gift too.
What You’ll Need
- Smooth pebbles (varied sizes and colors — craft stores, or gather them from parks and beaches for a personal touch)
- A small flower pot or container (ceramic, plastic, or metal — one you love)
- Hot glue gun and glue sticks (child-friendly alternatives are available)
- Craft paint or sealant (optional, for personalizing the pot)
- Paintbrush (if using paint)
- Paper towels or sponge (for cleanup)
- Soft cloth (for finishing touches)
Step 1: Prep Your Workspace
Lay out a soft cloth or paper towels to catch any glue drips, and gather all your materials.
Step 2: Choose Your Pot
Pick a container that feels right for your space. Consider its size and shape — and remember that drainage is important if you’re planting a living plant in it.
Step 3: Arrange Your Pebbles
Spend some time laying the pebbles out on a flat surface before gluing. Experiment with different patterns and color mixes — my little ones love this part. Let the kids go wild here; there’s no wrong way to arrange them.
Step 4: Start Gluing
Apply a small amount of hot glue to a pebble and press it gently onto the flower pot. Hold it in place for a few seconds to make sure it secures.
Step 5: Work Your Way Around
Continue gluing pebbles around the pot, layering the stones as you like. Mix colors and sizes for a more organic look, or keep it uniform for a clean aesthetic.
Step 6: Fill the Gaps
If there are small spaces between the pebbles, use smaller stones to fill them in and create balance.
Step 7: Let It Dry
Allow your creation to set for about an hour, making sure all the glue is secure and your design holds firm.
Step 8: Paint or Seal (Optional)
Once the glue is dry, you can paint the rim of the pot or apply a sealant to protect your work.
Step 9: Add Your Plant
Fill the pot with soil and plant your chosen flower or herb. Succulents and small flowering plants work beautifully — they add beauty without overwhelming the design. Now set it on a sunny windowsill and watch it thrive!
Tips from My Kitchen Table
- Gather memories: Use stones from a family beach trip — each pebble tells a story.
- Themes: Sand-colored stones for a beach feel; greens and earthy tones for a forest theme.
- Extra charm: Tuck in tiny driftwood pieces or small figurines between the pebbles.
- Little hands: Wonderful for fine motor skills — picking up and placing each pebble builds hand strength and patience.
Caring for Your Pebble Pot
Water your plant as needed, but let the soil dry a bit between waterings to keep the roots healthy. If the pot lives outdoors, check it with the seasons — a quick rinse with water brings dusty stones back to life. And when you’re ready for a change, reuse the pot with a new plant!
Quick Answers
What if the glue isn’t holding? Let it dry completely before checking again — you can always apply more glue directly to the stones and pot.
What plants work best? Herbs, succulents, or any small plants that fit comfortably. Just make sure your container has drainage.
Is it kid-friendly? Yes, with supervision — especially around the hot glue gun.