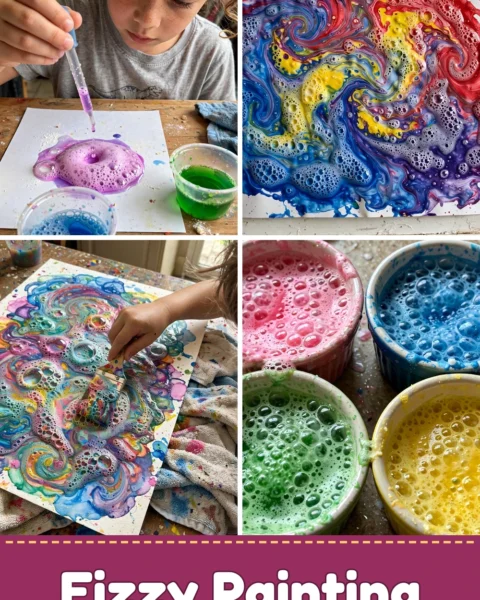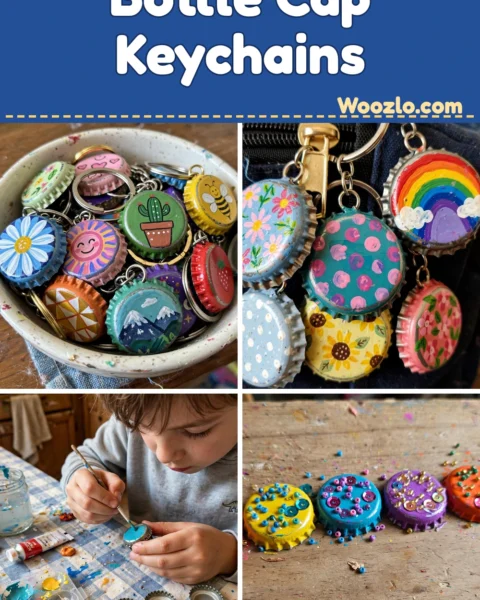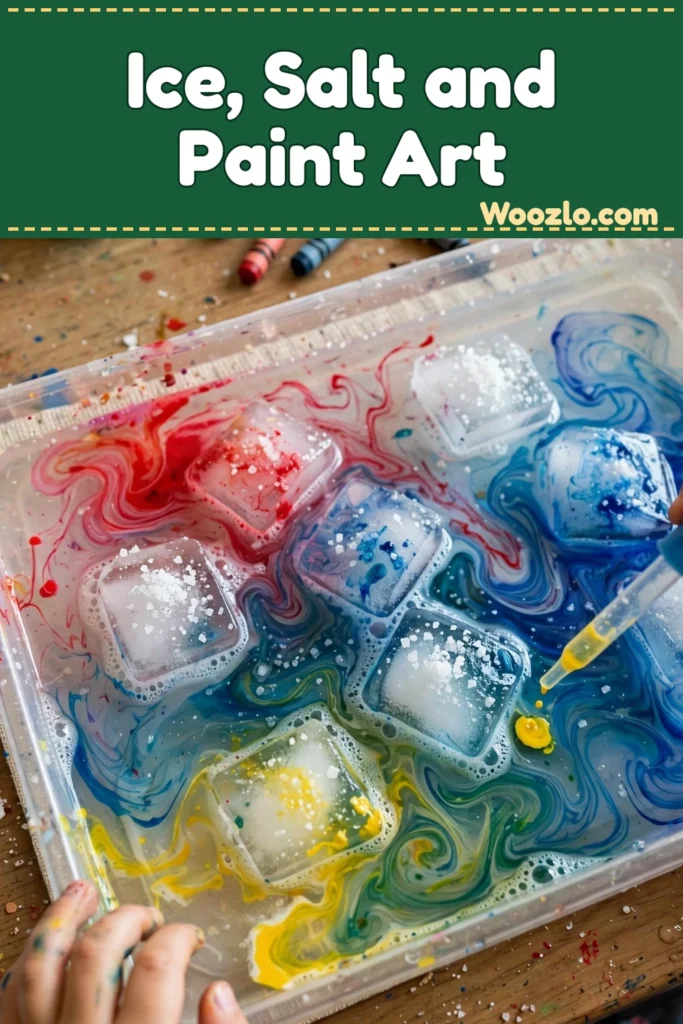
Transform Your Kids’ Playtime with Ice, Salt & Paint Art
Are you looking for a fun, creative activity for your little ones that costs almost nothing and keeps them mesmerized? This ice, salt, and paint sensory activity is it! My kids were completely transfixed — the cold ice tingling against warm fingertips, the soft crackle of salt, and the way colors explode and swirl as the ice melts. It is pure magic for little eyes.
The best part? It is super cheap and easy. Ice cubes, table salt, and whatever watercolor paints you already have — that is the whole supply list. And it is genuinely good for them too: scooping, sprinkling, and dropping paint builds fine motor skills and hand-eye coordination while they explore color mixing.
What You’ll Need
- Ice cubes
- Table salt (any type works)
- Watercolor paints or liquid watercolors
- Heavyweight paper or watercolor paper
- Shallow tray or bowl (to hold the ice)
- Brushes or droppers (for applying paint)
- Small spray bottle, optional (for a fun misting effect)
Step 1: Fill the Tray with Ice
Fill a shallow tray or bowl with ice cubes. Let the kids notice how they glisten and feel cold to the touch — half the fun is the sensory part.
Step 2: Sprinkle the Salt
Generously sprinkle salt over the ice. Listen for the gentle crunch as the salt falls, creating a salty pathway across the ice.
Step 3: Set Out the Paints
Select your watercolor paints and prepare a clean workspace. Set the heavy paper nearby, ready for soft colors and creativity.
Step 4: Drop on the Paint
Using a brush or dropper, apply drops of paint over the ice cubes and salt. This is the moment they will gasp — watch how the colors explode and spread as they dissolve.
Step 5: Mist (Optional)
If you like, fill a small spray bottle with water and mist it over the ice and salt. The water encourages a fascinating interaction, enhancing the watercolor effects.
Step 6: Watch and Wait
Observe the colors moving, mixing, and blending into delightful patterns. Let the ice melt and see how the secret artistry is revealed.
Step 7: Dry and Display
Once you’re satisfied with the creation, set the piece aside to dry. After drying, display it or share it with loved ones — these make beautiful handmade cards and gifts.
Tips from My Kitchen Table
- Try different salts: Experiment with coarse or fine salt to see how the textures change the artwork.
- Go bold: Food coloring gives vibrant hues that really stand out.
- Add scent: A drop of essential oil in the spray water adds a fragrant, calming touch.
- Make it social: Invite friends or siblings — sharing the process adds layers of memory and joy.
- Switch the paper: Try textured cardstock or even fabric to see how they absorb the watercolors differently.
Good to Know
Other paints? Any water-based paint works, as long as it merges beautifully with water. Want more than one piece? Prepare multiple trays of ice and make each one unique. Safe for kids? Yes — with supervision, and make sure they know not to ingest the materials. Clean-up is simple: rinse the work area, remove leftover ice or salt, and use warm soapy water on any paint spots. To keep the art, frame it behind glass or store it in a cool, dry area away from direct sunlight.
Source inspiration: rinarecipes.com — an ice, salt, and paint sensory art activity.