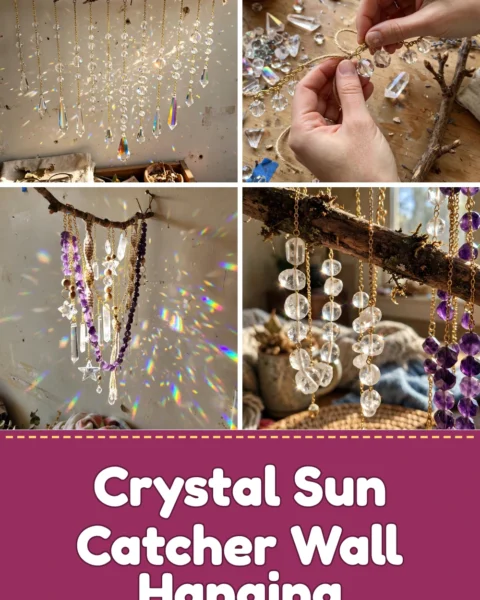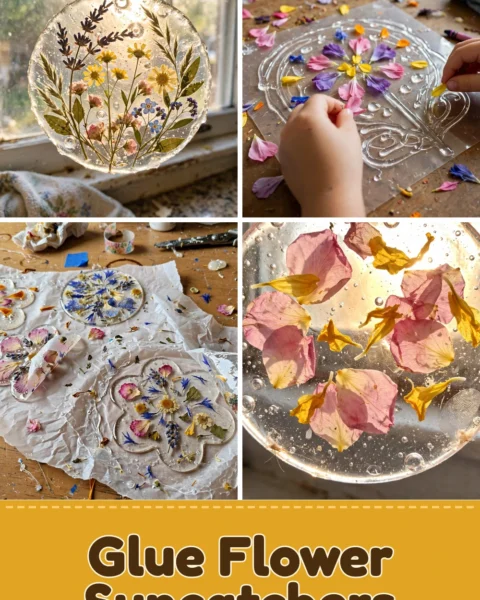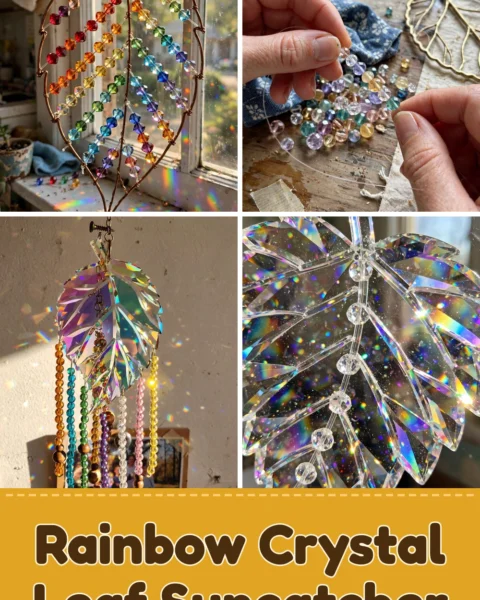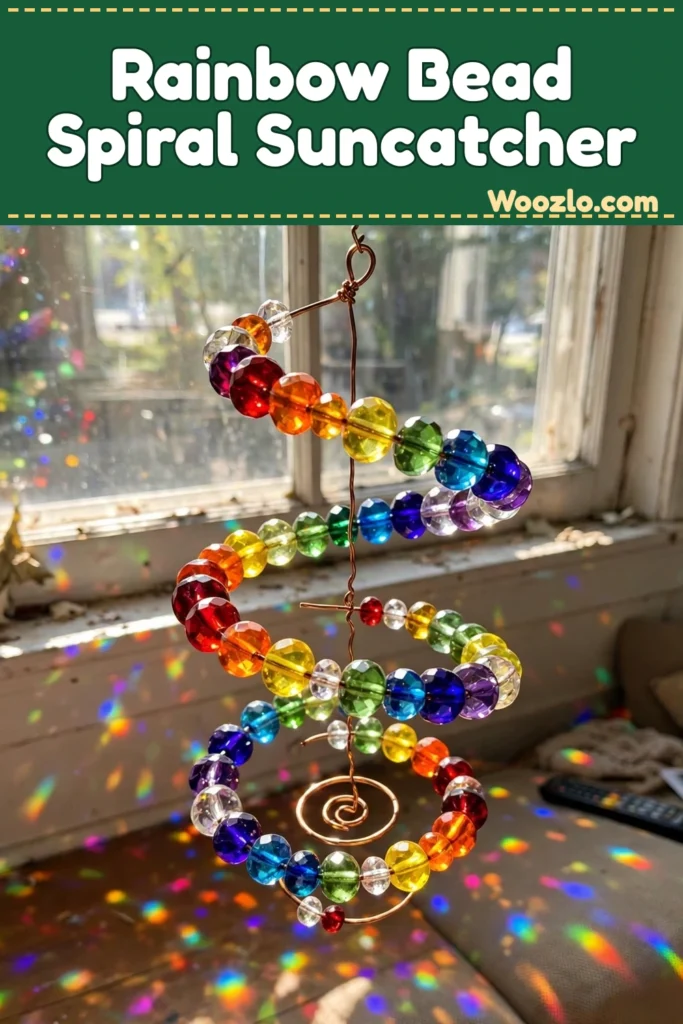
Create a Soothing DIY Rainbow Bead Spiral Suncatcher for Your Windows
If you have an afternoon and a sunny window that could use some color, this rainbow bead spiral suncatcher is a perfect weekend project. It is dead simple — thread glass beads onto wire, twist it into a spiral, hang it up — and the payoff is immediate: colored light dancing across the room every time the sun hits it.
This is a calm, repetitive build. The threading is almost meditative once you get into a rhythm, and you will be done in about one to two hours depending on how intricate you make your design. No special skills required, just a steady hand and a pair of pliers.
What You’ll Need
- Rainbow glass beads (a variety of sizes)
- Thin metal wire, approximately 24-gauge
- Wire cutters
- Needle-nose pliers
- A sturdy base, like a wire hoop or a thick piece of cardboard
- Strong adhesive (optional, for securing the ends)
- Scissors (for any trim)
- Optional: ribbons or additional decorations for embellishment
Glass beads are easy to find at any craft store or online, and you can swap in plastic beads, sea glass, or natural stones if that is what you have on hand. Each material gives the finished piece its own character.
Step 1: Cut Your Wire
Cut a length of wire about 2-3 feet long, depending on how big you want your suncatcher. That length gives you enough room to build a nice spiral without fighting the wire.
Step 2: Thread the Beads
Select your beads and start threading them onto the wire. Arrange them in a color pattern that looks good to you — follow the rainbow order or improvise as you go.
Step 3: Twist the Spiral
Twist the wire at intervals to create the spiral effect: loop the wire back on itself after a certain number of beads. Keep a consistent distance between the loops so the shape stays even and harmonious.
Step 4: Trim and Leave a Hanging Tail
Once you reach your desired length, cut the excess wire — but leave enough at the end to form a final loop for hanging.
Step 5: Shape the Hanging Loop
Shape the last part of the wire into a loop that can easily fit onto a hook or a piece of string for hanging.
Step 6: Add Embellishments
If you want, add ribbons or decorative elements at this stage. Secure them with the adhesive if needed.
Step 7: Hang It in the Sun
Hang your suncatcher where it will catch direct sunlight — a bright window is ideal — and make sure it is hung securely so it sways gently instead of banging around. The gentle sway of the spiral in a soft breeze brings the whole piece to life.
Quick Facts
- Prep time: 15 minutes
- Build time: about 60 minutes
- Total time: 75 minutes
- Yield: 1 suncatcher
Tips and Variations
- Mix bead types: wooden or ceramic beads add different textures and appearances.
- Change the palette: pastels for a softer look, bold shades for more punch.
- Make a set: a few suncatchers in different styles or sizes add depth and a cohesive theme to a room.
- Try different wire: varying the wire thickness changes the structure and feel of the piece.
FAQs
How long does it take? About one to two hours, depending on how intricate the design is and how many beads you use. Do not rush it — the process is half the point.
Can I use materials other than glass beads? Yes. Plastic beads, sea glass, or natural stones all work.
How do I clean it? Gently wipe with a soft, damp cloth to remove dust and keep the colors vibrant. Avoid anything abrasive that could scratch the glass.
Where should I hang it? A bright window is ideal — the light shining through creates the reflections. Just hang it securely.
Storing It
When it is not on display, store the suncatcher in a safe, dry place to protect the beads from dust and damage. Glass beads are durable, but handle your creation with care to avoid accidental breakage.