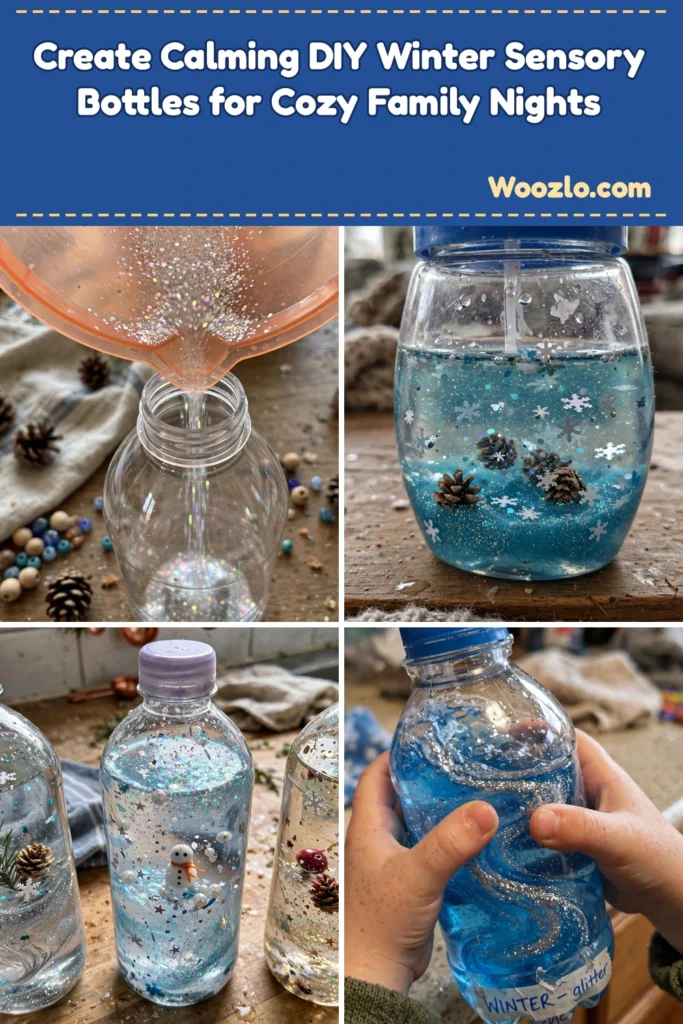
Create Calming DIY Winter Sensory Bottles for Cozy Family Nights
Are you looking for a cheap, easy craft that calms everyone down — including you? These winter sensory bottles are my secret weapon on long winter evenings. My kids shake them, watch the glitter swirl, and just… settle. They are inexpensive to make, mesmerizing to watch, and double as pretty winter decor on the mantel.
Winter sensory bottles engage children and adults alike with a calming, visual experience reminiscent of a snowy landscape. Filled with glimmering materials and unique sensory elements, they are excellent tools for relaxation, play, and education — stimulating creativity and promoting mindfulness. A fun, enriching activity you can enjoy with kids or as a quiet personal project.
What You’ll Need
- Empty plastic bottle (12 oz or larger)
- Clear glitter or faux snow
- Colored water (dye if desired)
- Small winter-themed items (e.g., mini pine cones, snowflakes, beads)
- Glycerin (optional — thickens the liquid so glitter falls slower)
- Funnel (for easy filling)
- Hot glue gun (to seal the top)
Step 1: Prepare Your Bottle
Take an empty plastic bottle and clean it thoroughly. Remove any labels so you get a clear view of your beautiful creation.
Step 2: Fill with Glitter and Decorations
Using a funnel, add clear glitter or faux snow into the bottle to resemble snow. Add your smaller winter-themed items — mini pine cones, snowflakes, beads — arranging them as you like.
Step 3: Add Colored Water
Fill the bottle with colored water, leaving some space at the top. If desired, mix in a few drops of glycerin to slow down the movement of the glitter and create a more mesmerizing effect.
Step 4: Seal Your Bottle
Use a hot glue gun to seal the cap securely. This is crucial if children will be playing with the sensory bottle!
Step 5: Shake and Explore
Give your bottle a gentle shake and watch the magical winter scene unfold. Observe how the glitter and decorations float and settle — it never gets boring.
Tips & Variations
- Color variations: use different food coloring to create various wintery scenes — blue for icy, white for snow.
- Add sound: drop in small bells or beads for auditory stimulation along with the visual experience.
- Themed bottles: create themed bottles for different winter holidays such as Christmas or New Year’s Eve.
Frequently Asked Questions
Can I use glass bottles instead of plastic?
Yes, but be cautious of breakage, especially if children will use them.
What if I don’t have glycerin?
You can omit it — it just makes the glitter move slower.
How long will the sensory bottle last?
As long as it is sealed properly, your bottle can last indefinitely, although contents may settle over time.
Can I use regular water instead of colored water?
Yes — but colored water enhances the visual experience!
Cozy Pairings
- Pair your sensory bottle crafting with hot chocolate or warm mulled cider for a cozy experience.
- Put soft music on in the background to enhance the calming atmosphere.
Winter sensory bottles are a delightful way to embody the spirit of the season — and a lovely family-bonding craft. Get creative with your variations and tell me what themes you tried!



