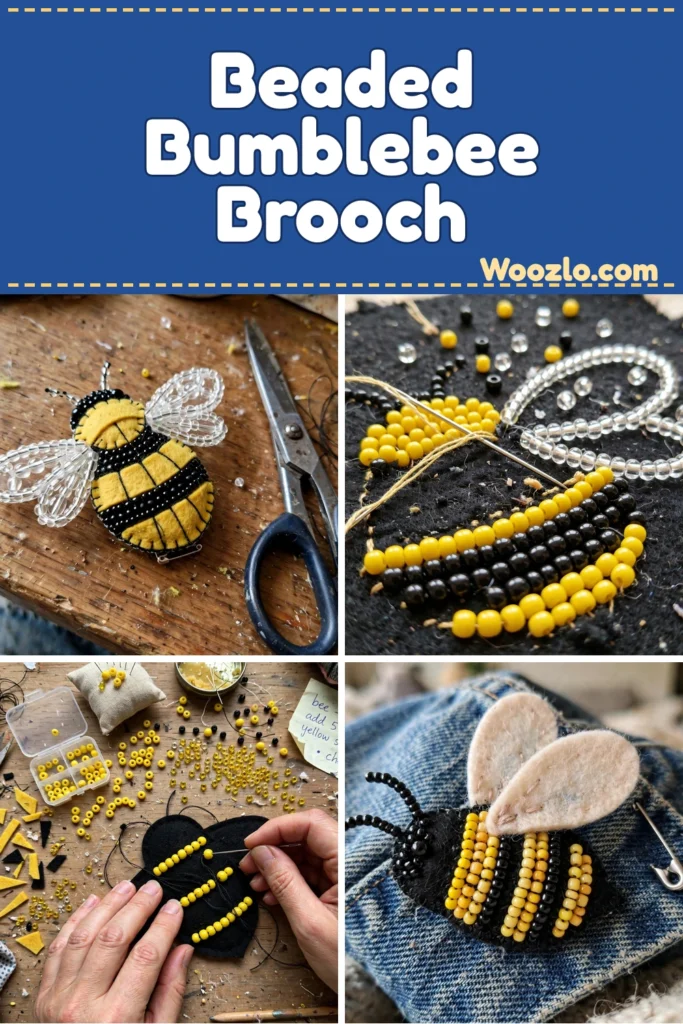
Craft an Adorable DIY Beaded Bumblebee Brooch for Any Outfit
A beaded bumblebee brooch is one of those small projects that punches above its weight: an hour or two of threading beads and you get a pin you can wear on a jacket, scarf, or bag. The build is straightforward bead embroidery on felt — no special skills, just patience.
The method below makes the classic yellow-and-black bumblebee, but the same steps work for any color scheme. Once you’ve made one, you’ll start planning a whole collection.
What You’ll Need
- Assorted glass beads (yellow, black, and clear for highlights)
- Black thread or embroidery floss
- Needle (a beading needle works well)
- Craft felt (black and yellow)
- Scissors
- Brooch pin
- Glue (fabric or craft glue)
- Optional: small piece of fabric for backing
Step 1: Cut the Body Base
Cut an oval shape from your black felt. This serves as the base for the bumblebee’s body.
Step 2: Cut the Stripes
Cut two smaller oval pieces from the yellow felt for the bumblebee’s stripes. The color contrast starts to bring the design to life.
Step 3: Stitch the Stripes On
Using black thread, stitch the yellow stripes onto the black oval to secure their position.
Step 4: Start Adding Beads
Thread your needle with black or yellow thread and begin adding beads. Start at the top of the body, placing beads in a row just beside the stitches, weaving them into the felt.
Step 5: Outline the Shape
Continue adding beads until you’ve outlined the desired shape and the bumblebee emerges, sparkling with color and life.
Step 6: Make the Wings
Cut two wing shapes from craft felt, position them above the body, and secure with a few stitches or a touch of glue.
Step 7: Attach the Brooch Pin
Attach the brooch pin to the back and apply glue to secure it. Let the glue dry fully before wearing.
Variations Worth Trying
- Color swaps: Try a blue bumblebee, or add sparkly accents and sequins for extra shine.
- Tiny legs: Stitch little legs with thread for more detail.
- Bead sizes: Larger beads create a dramatic effect; smaller ones add delicacy.
- Insect collection: Make a series of insect brooches — ladybugs, butterflies, dragonflies.
Storage and Care
Keep the brooch in a soft pouch or a jewelry box lined with fabric to protect the beads and structure. To reuse materials later, detach the brooch pin or carefully remove parts, preserving the beads and felt for future projects.
Quick Answers
How long does it take? Expect an hour or two, depending on your pace.
Missing materials? Substitute beads or fabric with what you have on hand — the project adapts easily.
How do I secure loose beads? A dab of fabric glue adds durability; let it dry before wearing.
Can kids make it? It’s a wonderful project to share with children — just help with tasks requiring a needle.
Thread tangles? Gently pull the threads apart and unravel knots slowly.