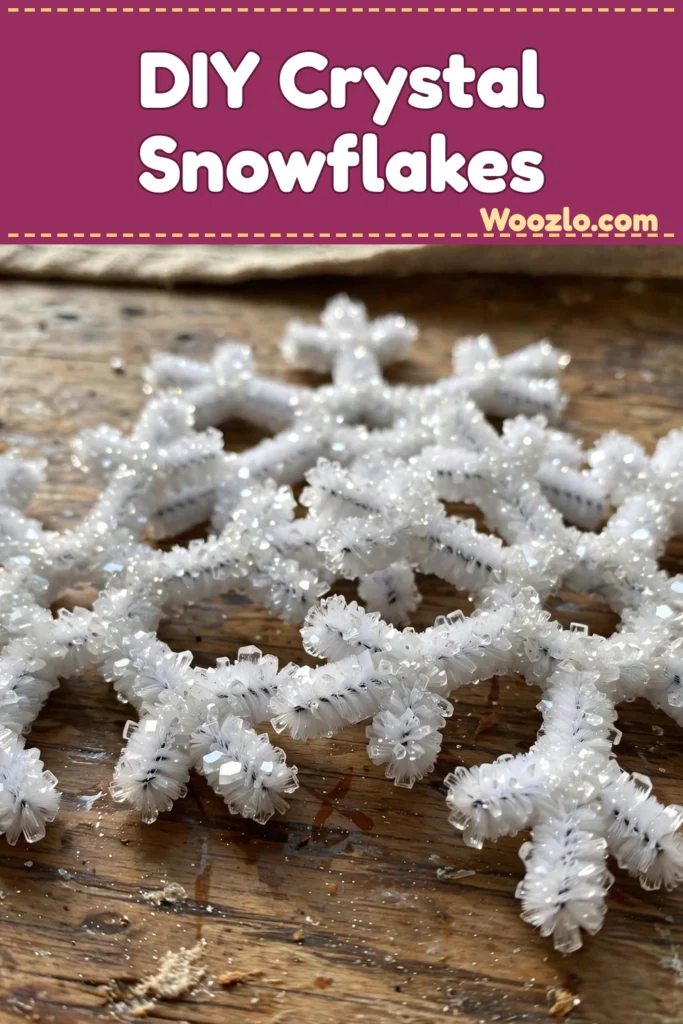
Create Gorgeous DIY Crystal Snowflakes for a Winter Wonderland
Are you looking for a magical winter craft to do with your little ones this season? These DIY crystal snowflakes are it! I am completely smitten with them — they look like they were plucked straight out of a winter wonderland. And honestly, there is no better time of year: they catch the light beautifully hanging in the window or on the tree.
The best part? These sparkling snowflakes are so much easier than they look. All you need is Borax, water, and pipe cleaners from the craft stash, and you get a real science lesson for free — the kids get to watch crystals actually grow. That is my kind of craft: super cheap and easy, and secretly educational.
What You’ll Need
- 1 cup Borax (for crystal formation)
- 2 cups water, heated to almost boiling
- Pipe cleaners in various colors — kids love choosing their own
- String, for hanging the snowflakes
- Scissors, to cut the string
- 1 glass jar or bowl, for crystallization
- 1 spoon, for stirring the solution
Step 1: Shape Your Pipe Cleaners
Shape your pipe cleaners into a snowflake design. You can create a traditional six-branch snowflake or get creative with different shapes — hearts and stars are gorgeous too. Twist the branches together to secure them. Let the kids go wild here; every snowflake comes out different, and that is half the fun.
Step 2: Mix the Borax Solution
In a glass jar or bowl, heat your water until it is almost boiling (not fully boiling). Gradually add the Borax while stirring until it dissolves completely. You want the solution to be super-saturated — if some Borax settles at the bottom, just add a little more. This step is grown-up territory; handle the hot water while the kids watch from a safe distance.
Step 3: Hang the Snowflake in the Jar
Tie a piece of string around the center of your snowflake, making sure it is long enough to hang from the top of the jar. Lower the snowflake into the Borax solution so it hangs suspended and does not touch the bottom of the jar.
Step 4: Let the Crystals Grow
Set the jar in a cool place and leave it undisturbed for 6-24 hours. The longer it sits, the larger the crystals will grow. This is the hardest part — my kids kept sneaking over to peek! Overnight is usually perfect.
Step 5: Remove and Dry
Once you are satisfied with the size of the crystals, carefully lift the snowflake out of the solution. Rinse it gently under cold water to remove the excess Borax, then let it dry completely on a paper towel.
Tips from My Kitchen Table
- Color magic: Dip your pipe cleaners in food coloring before starting, or add a few drops of food coloring to the Borax solution for a colorful effect.
- Extra sparkle: Sprinkle a little glitter on the wet surface before they dry for extra shimmer — my daughter insists this step is mandatory.
- Try new shapes: Stars and hearts look stunning with crystals, and they make lovely gift toppers.
- Crystals not forming? Make sure your water was hot enough and that the solution is truly super-saturated with Borax.
- Storage: Keep finished snowflakes in a cool, dry place — humidity can make them dissolve. They are best indoors, not outside in rain or damp weather.
Fun idea: hang several snowflakes at varying lengths in a window for a winter display, or use them as unique gift toppers and holiday card decorations. Hosting a crafting party? This one is a crowd-pleaser for all ages.



