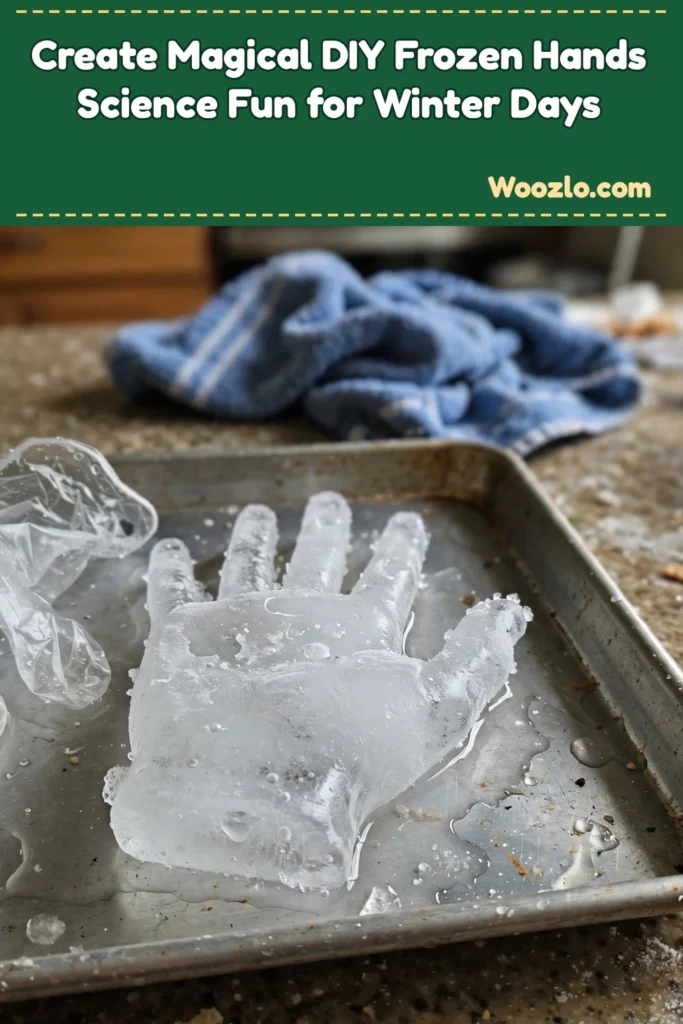
Create Magical DIY Frozen Hands Science Fun for Winter Days
Are you looking for a super cheap and easy winter activity that actually teaches your kids something? These DIY frozen hands are my new favorite — they are part science experiment, part sensory play, and 100% free if you already have a freezer. My little ones were mesmerized watching the liquid turn to solid, and the big reveal never gets old.
This hands-on activity dives into the fascinating world of chemistry and temperature changes in a way kids genuinely remember. It is perfect for at-home learning or a classroom experiment, and it sparks curiosity about states of matter and what freezing temperatures do to different materials. Frosty fun that mixes creativity and science in the most whimsical way!
What You’ll Need
- Plastic gloves or latex gloves — thick enough to hold water without bursting (1 pair)
- Water (1 cup — can substitute with other liquids)
- Food coloring (optional, for adding color to the frozen hands)
- Salt (1 tablespoon — enhances the freezing process by lowering the freezing point of water)
- Baking sheet (to lay gloves flat and capture spills)
- Freezer
- Time (minimum 3 hours for freezing)
Step 1: Prepare the Gloves
Fill the gloves: pour water into the fingers of the plastic gloves. If you’d like a splash of color, mix in a few drops of food coloring. Then seal the gloves by tying a knot or securing the opening so nothing leaks.
Step 2: Add Salt
Sprinkle a layer of salt onto the palms of the gloves before they go into the freezer. This step boosts the freezing process — salt lowers the freezing point of water, which makes for a great little science talking point.
Step 3: Place in the Freezer
Lay the gloves flat on a baking sheet to catch any potential spills, then place the baking sheet in the freezer. Give it at least 3 hours, or until the water has frozen completely solid.
Step 4: Reveal Your Frozen Hands
Take the baking sheet out once the gloves are frozen solid. Carefully peel off the gloves to reveal your frozen hands! Let the kids observe the differences in texture and temperature — that frosty contrast is the best part.
Tips & Variations
- Change the color: use different colors of food coloring for unique frozen gloves — rainbow sets are a huge hit.
- Mix in shapes: instead of hands, try filling silicone molds with the colored water for different shapes.
- Use different liquids: experiment with juice or fizzy drinks instead of water for different effects.
- Time variation: test how freezing times change if you adjust the size of your gloves or materials used.
Frequently Asked Questions
Can I use regular gloves instead of plastic ones?
Yes, you can — just make sure they are thick enough to hold the water without bursting.
What if my gloves leak?
Try tightening the knot or using a different kind of glove. You can also place them in a bowl to catch spills.
How long do the frozen hands last before they melt?
They can last a few hours outside of the freezer, though it varies based on the temperature of your environment.
Can I use other liquids instead of water?
Absolutely! Keep in mind that liquids with higher sugar content may freeze differently.
Make It a Learning Moment
- Pair with science lessons: use this activity alongside lessons on states of matter or temperature effects.
- Science fair project: document your findings on how different liquids freeze.
- Frozen hands party: invite friends over to try various liquid combinations and see who can make the most creative frozen hands.
Encourage your kids to share their versions of the experiment — and have them guess what will happen before they peel the gloves. What will your frozen hands look like? Happy experimenting!



