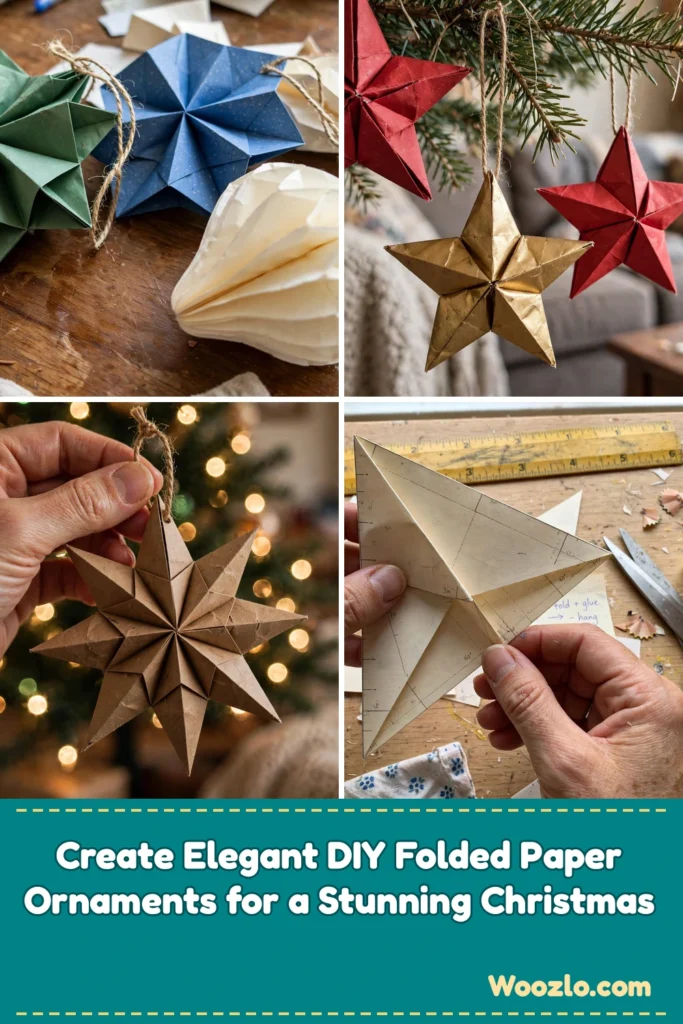
Create Elegant DIY Folded Paper Ornaments for a Stunning Christmas
Are you looking for a cheap, easy Christmas craft that looks genuinely elegant? These folded paper ornaments are my quiet-time favorite — just paper, scissors, and glue turning into layered stars and dimensional baubles that catch the holiday lights beautifully. My kids make the simple folds while I handle the fiddly bits, and every ornament carries a little of our intention and heart.
Folded paper ornaments bring a distinct tranquility to holiday crafting. The act of folding, measuring twice, and snipping carefully creates a space for reflection and mindfulness — the gentle repetition of folds becomes almost meditative. Each piece becomes a story to tell as it graces your home this special time of year.
Gathering Your Materials
- Colored paper (any hue you love — textured or plain)
- Scissors (sharp enough for clean cuts)
- Ruler (for precise measurements)
- Pencil (to mark guidelines)
- Glue or double-sided tape (for secure adhesion)
- String or twine (for hanging your ornaments)
- Optional: embellishments like glitter, stickers, or stamps
Most of these supplies are easy to find in craft stores or tucked away in drawers at home. Feel free to substitute with what you have on hand!
Step-by-Step Directions
Step 1: Choose a piece of colored paper that speaks to you — notice its weight and texture.
Step 2: With your ruler and pencil, measure and mark out squares or triangles on the paper. The size depends on how large you want your final ornament.
Step 3: Cut out the shapes carefully, feeling the smooth pull of your scissors as they glide through the paper.
Step 4: Start folding — for ornamental stars, fold each piece in half diagonally, then unfold it back to the original shape.
Step 5: Fold the corners of each triangle toward the center point where the creases intersect, bringing lovely dimension to your piece.
Step 6: When all pieces are folded, attach them together with glue or double-sided tape. Be patient, letting the glue dry for a moment.
Step 7: For the finishing touch, cut a length of string or twine and attach it to your ornament so it dangles beautifully.
Step 8: Repeat with other colors and shapes, taking your time to enjoy each moment of creation.
Enjoying the Finished Piece
Hang them on your tree where they catch the soft glow of holiday lights, casting playfully dancing shadows across the room. They also adorn festive garlands or brighten window sills beautifully.
Gentle Tips & Variations
- Experiment with different shapes and sizes — try circles, hexagons, or whimsical stars.
- Mix colors and patterns: pairing bold colors with softer tones creates delightful contrast.
- Write messages or draw small illustrations on the paper before folding — a beautiful way to share holiday wishes.
- Make a small ornament for each family member — a new tradition filled with laughter and bonding.
FAQs
Can I use any type of paper?
Absolutely — wrapping paper, old book pages, or scrapbook paper each add their own charm.
What if I make a mistake cutting or folding?
Embrace it! Mistakes can lead to unique, beautiful outcomes.
How long will these decorations last?
With proper care and storage, they last for many seasons — just handle gently.
Can I involve my children?
Definitely — a perfect family activity. Just supervise with the scissors and let them express themselves freely.
What if I don’t have all the materials?
No worries — substitute with what you have on hand and let your resourcefulness shine.
Making This DIY Last
Store finished ornaments in a sturdy box lined with soft tissue paper, keeping each piece separate to avoid tangling or damage. Add a small note about the colors and techniques used — future you will treasure the memories. Happy folding!



