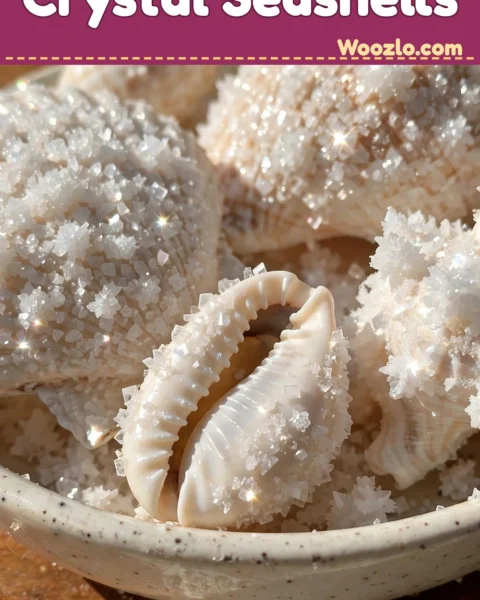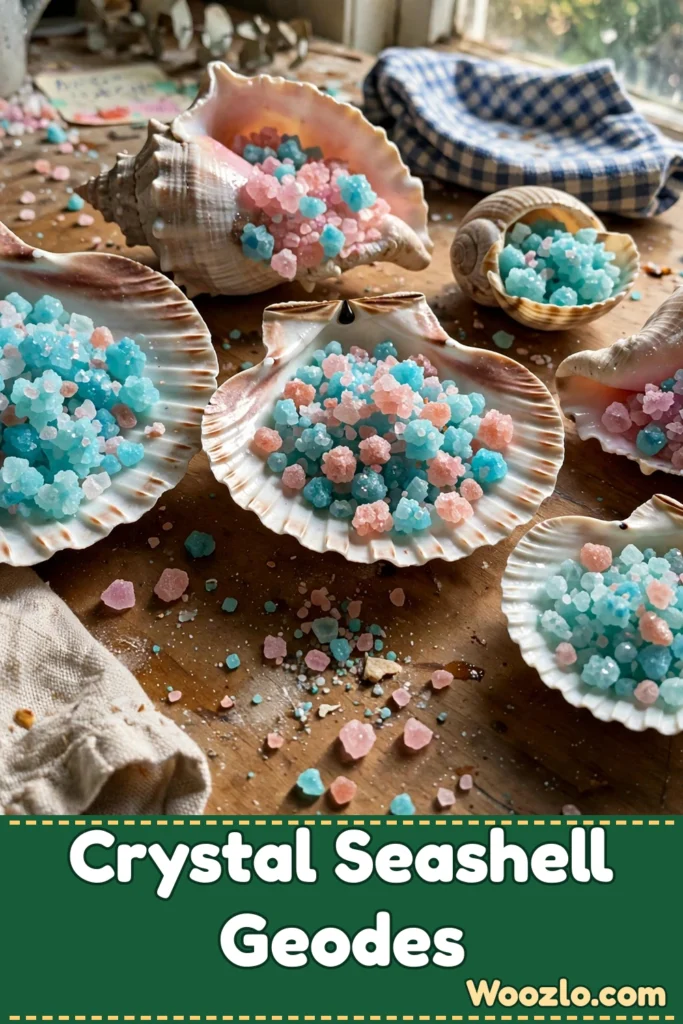
Grow Sparkling DIY Crystal Seashell Geodes at Home
Some projects you finish in an afternoon. This one asks you to slow down — and the payoff is worth it. We’re growing actual crystals inside real seashells, and watching them form over 24 hours is quietly mesmerizing. Set it up, walk away, and come back to sparkling geodes.
The science is simple: dissolve Epsom salt in water, add a little color if you want, submerge your shells, and let evaporation do the work. No special equipment, no expensive materials. Just patience and a warm, dry spot on the counter.
What You’ll Need
- Medium-sized seashells (easy to find at craft stores or the beach)
- Epsom salt (promotes beautiful crystal growth)
- Water (to dissolve the salt)
- Food coloring (to add vibrancy, optional)
- A small mixing bowl
- A spoon or stick for stirring
- A shallow container (to hold the shells)
- Parchment paper (to catch any spills)
Step 1: Rinse the Shells
Start by rinsing your seashells under warm water. This refreshes their natural beauty and prepares them for embellishment.
Step 2: Dissolve the Salt
In a mixing bowl, combine about two cups of Epsom salt with one cup of water. Stir gently until the salt dissolves fully. The texture will be soft and silky.
Step 3: Add Color (Optional)
If you choose to add color, now is the time. A few drops of food coloring transform your mixture — watch it swirl.
Step 4: Fill the Container
Carefully pour the saltwater solution into the shallow container, filling it about halfway.
Step 5: Place the Shells
Place each seashell in the solution, ensuring they are submerged but also able to sit comfortably. This creates an inviting cradle for your crystals to form.
Step 6: Wait 24 Hours
Set the container in a warm, dry location. Leave it undisturbed for 24 hours to allow the magic to happen. The light refracting through the mixture creates a calming atmosphere all on its own.
Step 7: Rinse and Reveal
After a day, remove the seashells. Rinse them gently under water to wash away excess salt, revealing the sparkling crystals that have taken shape.
Step 8: Air Dry
Allow the shells to air dry completely, showcasing their newfound luminescence.
Displaying Your Geodes
Display them as beautiful centerpieces on your table or as calming decorations on your desk. Place them near a window where sunlight can catch and dance through the crystals, creating a soft kaleidoscope of colors. They also make delightful handmade gifts for friends or family.
Storing and Refreshing
Store finished geodes in a cool, dry place away from direct sunlight to preserve their vibrant colors — humidity or moisture can affect their longevity. To refresh them, simply rinse the shells with warm water, allow them to dry, and start another round of crystal growth.
Tips and Variations
- Experiment with color: Mixing various food colorings creates distinct, captivating effects.
- Add texture: Small pebbles or bits of seashell in the salt mixture add visual interest.
- Add scent: A few drops of essential oils in the saltwater mixture creates a gentle fragrance for your space.
- Try different shells: Scallops or clams each bring their own character to your collection.
- Make it social: Invite friends to join — sharing the experience deepens connections.
Quick Questions
Can I use different types of salt? Yes — table salt or sea salt work too, but crystal formations may differ slightly.
How long will the crystals last? With proper care, a long time. Keep them in a dry environment — humidity is the enemy of sparkle.
Is this project safe for children? Absolutely — it’s a gentle activity suitable for all ages, with adult supervision during handling.
Can I make larger geodes? Yes — use larger shells or containers and increase the salt and water accordingly.
What if my crystals don’t form? Breathe and let nature take its course. Try again, adjusting your method — sometimes the second batch is the magic one.