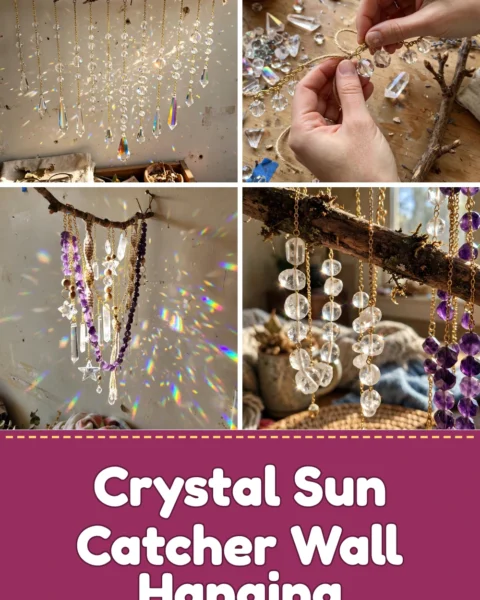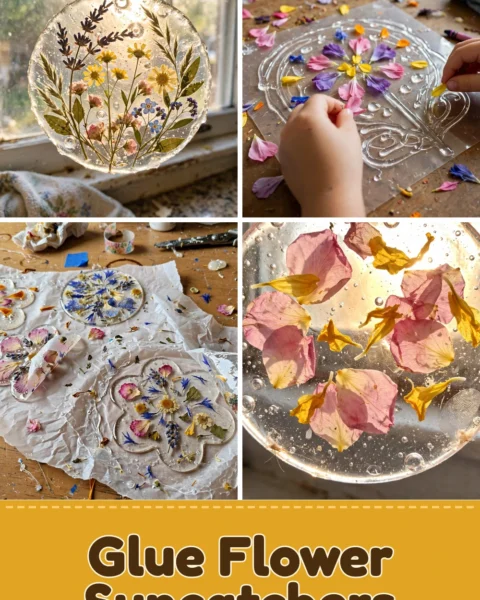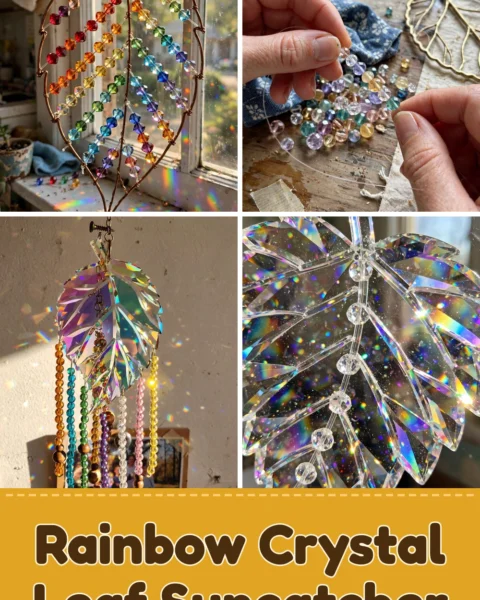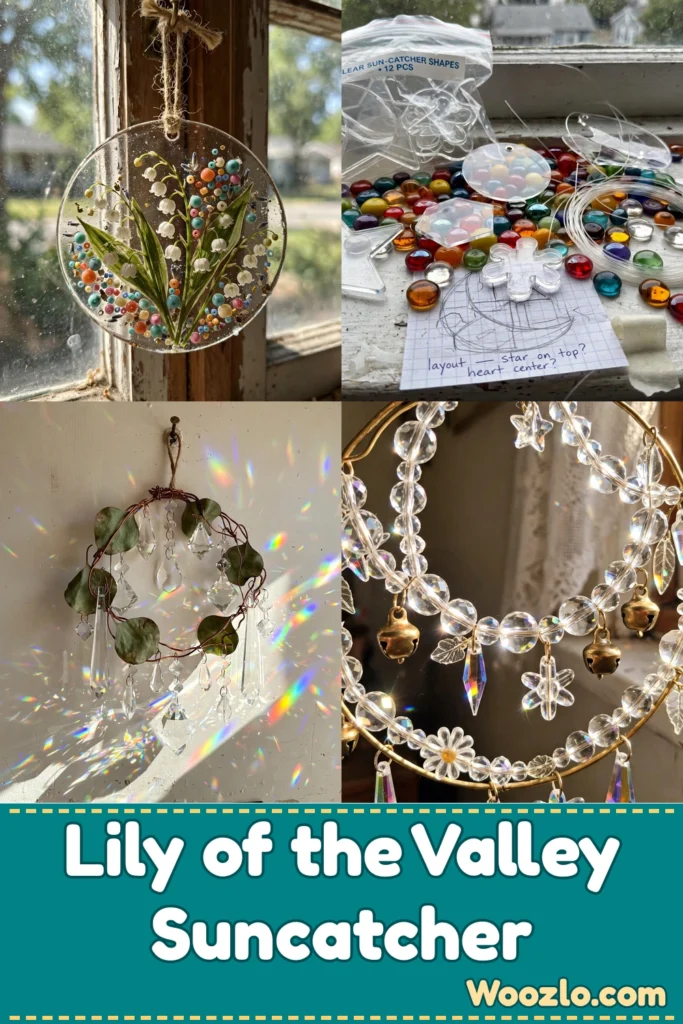
Create Whimsical DIY Lily of the Valley Suncatchers for Serene Decor
There’s something about a cottagecore suncatcher that brings a whisper of the outdoors right through your window. Imagine gentle light filtering in, casting playful color reflections across the room, while your suncatcher recalls blooming lily of the valley with its delicate bells. It’s a slow, mindful escape from life’s busy demands — and you only need about an hour.
Running your fingers over smooth glass, arranging tiny colorful bits, pressing in a natural leaf — the whole process invites you to pause and breathe. Each piece you make brings a hint of tranquility into your space.
Materials You’ll Need
- Clear glass or plastic shapes (easily found in craft stores)
- Colorful bits of glass or beads (for a vibrant touch)
- Wire or string (for hanging)
- Natural leaves or pressed flowers (optional, for added beauty)
- Scissors (to trim materials as needed)
- Glue (clear-drying, for securing elements)
Gathering the materials is part of the ritual — whether you find leaves on a quiet walk or pick up vibrant glass, each piece brings its essence to your creation.
Step 1: Prepare Your Space
Find a comfortable area with good light. Lay out your materials, enjoying the colors and textures around you.
Step 2: Choose Your Base
Pick a clear glass or plastic shape as your suncatcher base. Hold it gently in your hands — feel the weight of it.
Step 3: Arrange Your Elements
Start placing your colorful bits of glass or beads onto the base. Experiment with different layouts, noticing how the colors interact and catch the light.
Step 4: Add Nature’s Touch
If you want, include some natural leaves or pressed flowers. Feel the texture of the leaves against your fingers, observe their shapes, and secure them with a bit of glue.
Step 5: Secure Everything
Once you’re pleased with your design, use the glue to adhere the pieces in place. Be mindful as you apply it — each drop counts in holding your creation together.
Step 6: Attach a Hanging Element
Cut a piece of wire or string and gently attach it to the top of your suncatcher. A simple knot or loop lets it hang freely to catch the light.
Step 7: Let It Dry
Place your finished piece somewhere safe and let it dry completely. Take this time to admire your handiwork and notice the way it reflects and refracts light.
Step 8: Find the Perfect Spot
Once dry, hang your suncatcher in a window or a sunny spot. Let it greet the sunlight, transforming your space into a sanctuary of colors and reflections.
Enjoying the Finished Piece
Stand back and observe how the light plays off its surfaces — patterns dancing across your walls and furniture. It works beautifully in a cozy reading nook or a kitchen window. Each interaction becomes a mindful moment, a reminder to pause and breathe in the beauty around you.
Making It Last
Display it where sunlight can reach it, but know that prolonged sun exposure can fade colors over time — rotate its position or bring it indoors occasionally. Dust gently with a soft cloth, avoiding harsh cleaners.
Tips and Variations
- Experiment with textures: Try fabrics or different types of glass for a multi-dimensional appearance.
- Add personal tokens: A tiny stone from a memorable trip or a special bead adds meaning.
- Go seasonal: Autumn leaves in fall, cheerful flowers in spring — keep your suncatcher lively all year.
- Group display: Make several and hang them together for a beautiful mosaic effect in your window.
- Gift them: Each lovingly crafted piece carries a bit of your energy and care.
Quick Questions
How long does it take to make? About an hour, from gathering materials to enjoying the finished piece.
Can I use materials other than glass? Absolutely — plastic, natural elements, or even sturdy paper work. The key is materials that hold their shape and catch light.
Will the colors fade? Yes, prolonged sun exposure can fade colors. Rotate the suncatcher’s position or bring it indoors occasionally.
Can children join in? Of course — a wonderful hands-on project. Just be mindful of smaller items and hot glue.
What if I don’t have all the materials? Embrace creativity and substitute. Nature is abundant — beauty is often in simple items around your home.