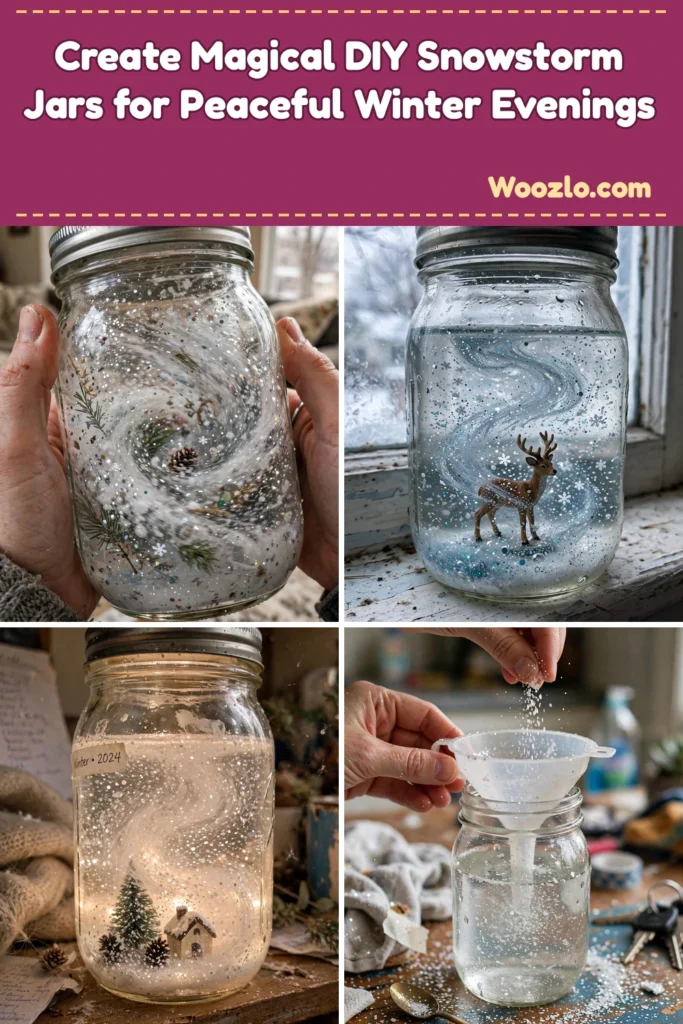
Create Magical DIY Snowstorm Jars for Peaceful Winter Evenings
Are you looking for a cheap, easy winter craft that slows everyone down? This snowstorm winter jar is my favorite quiet-evening project — picture the soft glow filtering through glass as you shake the jar lightly, watching fluffy white flakes swirl and dance in their glass home. My kids go silent watching the glitter settle. Silent! That never happens.
Creating a DIY Snowstorm Winter Jar invites a gentle hush into the bustling world around us. The soothing sound of glitter mingling with liquid creates a calming rhythm, wrapping you in warmth as you dive into a mindful crafting moment — and you end up with a cozy centerpiece for your space.
Gathering Your Materials
- Clean glass jar with a lid (easy to find at home or in craft stores)
- Distilled water (helps prevent cloudiness)
- White glitter or fake snow (1–2 tablespoons, for the snowy effect)
- Glycerin (optional — for a thicker, mesmerizing effect)
- Small figurines or decorations (choose your favorites to personalize)
- Funnel (makes pouring easier)
- Spoon (for stirring)
Step-by-Step Directions
Step 1: Clean your glass jar thoroughly and let it dry completely to avoid condensation inside.
Step 2: Using your funnel, fill the jar about three-quarters full with distilled water — clear water reflects light beautifully.
Step 3: Add a few tablespoons of glycerin if you want the glitter to drift slowly like snowflakes. Stir gently with your spoon.
Step 4: Slowly sprinkle in your white glitter or fake snow, watching it fall through the water — the jar begins to come alive with sparkle.
Step 5: If you wish to include small decorations, now is the time. Place your chosen figurines or bits of nature carefully in the jar, arranging them to your liking.
Step 6: Fill the rest of the jar with more distilled water until just below the rim, leaving room for the lid.
Step 7: Wipe the rim with a soft cloth to ensure a good seal.
Step 8: Secure the lid tightly — you can add glue around the rim for an extra seal if you’re gifting it or moving it often.
Step 9: Shake gently to see your winter wonderland come to life. Enjoy the soothing sounds and sights!
Enjoying the Finished Piece
Place your jar on a cozy shelf, next to a window, or on your desk — with every shake you wander into a miniature world of winter magic. On quiet evenings, it offers a moment of pause: watch the glitter swirl, cup of tea in hand, and let your mind clear.
Small Ways to Make It Your Own
- Personalize with a theme — a woodland winter with tiny animal figurines or a festive holiday scene.
- Experiment with glitter types: soft whites, sparkly silvers, or colorful hues for different moods.
- Create a series of jars — one for each season — for a calming year-round display.
- Add a few drops of scented oil (pine or peppermint) for a sensory experience.
- Make it a shared project with loved ones — crafting together weaves beautiful memories.
FAQs
How long will my jar last?
With proper care it lasts a long time — if it gets cloudy, refresh it with new distilled water.
Can I use tap water instead of distilled?
Distilled is best to prevent cloudiness; tap water minerals can affect clarity over time.
How do I make the glitter float longer?
Glycerin adds viscosity so the glitter moves gracefully and slowly, like true snowfall.
Is it safe around pets or children?
If secured tightly and placed safely, yes — but watch small figurines, which can be a choking hazard.
Can I change what’s inside later?
Yes! Open the jar and switch out decorations whenever you feel inspired.
Making This DIY Last
Store in a cool, dry place away from direct sunlight — this prevents evaporation and keeps the glitter vibrant. Refresh with distilled water if cloudiness appears. Take a moment to sit quietly with your jar, feel the peace, and enjoy the joy of creation.



