Craft a Beautiful DIY Beaded Wire Tree of Life Suncatcher
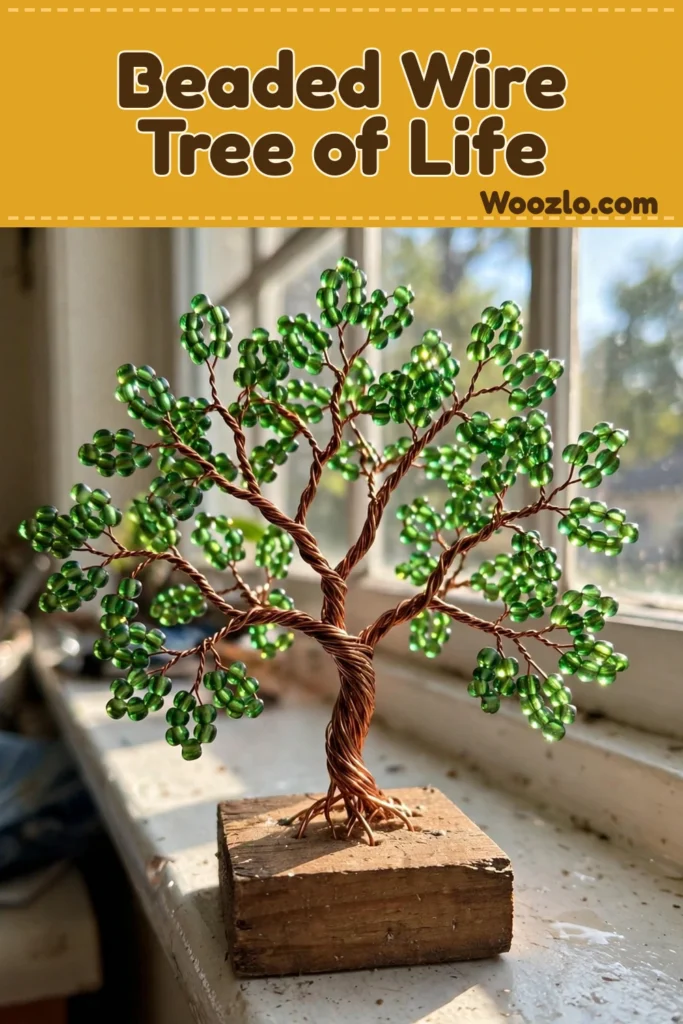
This is a satisfying weekend build with real presence: a wire tree-of-life wrapped in beads that catches the light on a windowsill. All you need is a spool of 22-gauge jewelry wire, a pile of beads, and two pairs of pliers. Two hours in, you’ll have something that looks like it came from an artisan market.
The technique is simpler than it looks — twist a trunk, loop the roots, branch out, and thread beads onto every branch end. Each one comes out different, which is exactly the point.
What You’ll Need
- Jewelry wire, 22-gauge (commonly used; easy to find at craft stores)
- Assorted beads in colors and shapes that inspire you
- Wire cutters
- Round nose pliers (for loops and curls)
- Flat nose pliers (for holding wire firmly)
- A wooden base, optional (for stability)
- Glue, if attaching to a base
Step 1: Prepare Your Wire
Cut a length of wire about 24 inches long — enough flexibility to form branches and roots.
Step 2: Create the Trunk
Find the center of the wire and twist it a few times to form the trunk, bringing the two halves together.
Step 3: Form the Roots
With each side of the wire, create small loops that will become the roots — organic, freeform shapes.
Step 4: Add Branches
Choose 4–5 points along the trunk to branch out. Using your flat nose pliers, twist the wire at these points to form branches, bending each in different directions.
Step 5: Attach Beads
Slide a bead onto the end of each branch, then create a small loop to secure it in place.
Step 6: Create More Depth
Add more beads along the branches, mixing sizes and colors for character and joy.
Step 7: Finalize the Shape
Gently adjust your branches and roots to create a natural look and find balance within the tree.
Step 8: Attach to Base (Optional)
If using a wooden base, securely attach the tree with glue, holding it in place until set.
Step 9: Step Back and Admire
Look at your finished piece — and take a moment to appreciate the time spent making it, not just the result.
Tips from My Workbench
- Bead selection: Try natural stones or recycled materials — each brings different texture and meaning.
- Wire choices: Thicker wire makes a sturdier frame; thinner wire allows delicate details.
- Theme your tree: Autumnal colors for fall, bright pastels for spring — build a seasonal lineup.
- Branch out: Let branches swoop and curl for an organic, wild look.
- Personal touch: Add charms or small trinkets that represent memories or milestones.
Good to Know
Any wire works — softer wire is easier to shape, more rigid wire gives sturdiness. No pliers? Your fingers can make gentle bends; work slowly. Time: a couple of hours for a detailed piece, or spread it across a few days. Bigger tree? Just lengthen the wire and add more beads. To care for it, store it somewhere dust-free (a display case is ideal), re-adjust branches if it gets knocked over, and dust with a soft, dry cloth now and then to keep the beads vibrant.
Source inspiration: rinarecipes.com — a beaded wire-wrapped tree of life.