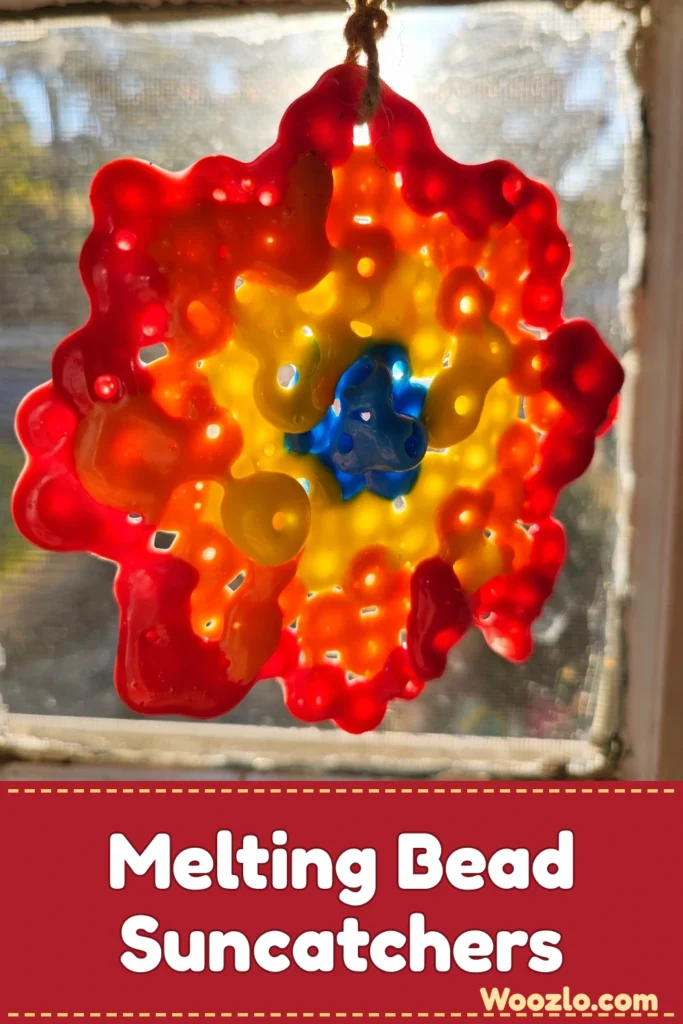
Build Cozy DIY Melting Bead Suncatchers for Colorful Windows
This is one of the highest-payoff crafts I know: dump a handful of colored melting beads into a pan, bake for 15 minutes, and you pull out a suncatcher that throws color all over the room. Total time is about 30 minutes, and most of that is the oven doing the work.
The one critical rule: an adult handles the oven step. Kids can do everything else — and honestly, the bead-arranging is the fun part for them anyway.
What You’ll Need
- Colored melting beads (look for brands labeled “melting beads” or “perler beads” in vibrant colors — craft stores carry them)
- A metal baking pan or silicone mold (silicone makes removal easier)
- Parchment paper
- An oven
- Hanging string or wire
Step 1: Preheat the Oven
Preheat your oven to 400°F (200°C).
Step 2: Line the Pan
Line the baking pan with parchment paper. This makes it much easier to get the finished suncatcher out once it’s melted.
Step 3: Arrange the Beads
Arrange the beads in the pan or mold in any design you like. This is where the creativity happens — patterns, gradients, random scatter, all of it works. Kids are great at this part.
Step 4: Melt Them
Carefully place the pan in the oven. In about 10 to 15 minutes the beads melt and fuse together into one piece. Watch the process — it’s genuinely satisfying to see the colors merge.
Step 5: Cool Completely
Remove the pan from the oven and let it cool completely before touching it. Don’t rush this.
Step 6: Release the Suncatcher
Once cool, gently peel the suncatcher from the pan or mold.
Step 7: Hang It Up
Attach string or wire at the top and hang it in a sunny window where the light filters through. As sunlight hits it, the colors come alive and dance across the room.
Variations Worth Trying
- Translucent vs. opaque: Translucent beads give softer light effects; bold opaque beads give a more pronounced display.
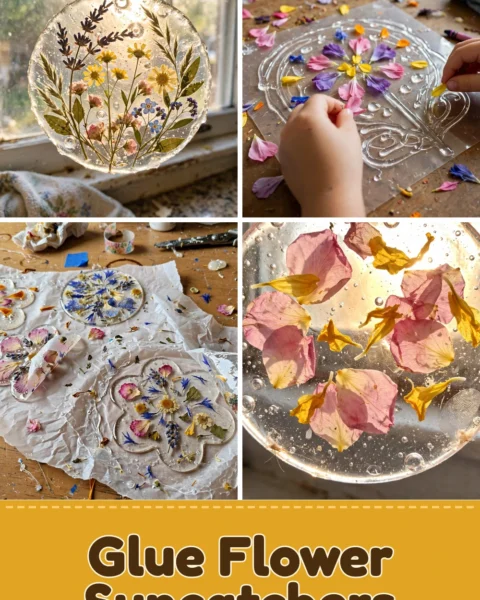
- Pressed flowers or leaves: Nestle small dried flowers or leaves in with the beads before melting for a personalized piece.
- Different molds: Experiment with various pans and molds to make a range of designs and sizes.
Care and Storage
Store in a cool, dry place when not in use, and avoid extended direct sunlight to keep the colors vibrant. Dust settles? Wipe gently with a soft, dry cloth. These hold up for many seasons.
Quick Answers
What if it breaks? Don’t fret — gather the pieces and melt them again in the same process, or use them in a new design.
Can I reuse the baking pan? Yes. Clean it thoroughly afterward; a silicone mold is fine for future crafts too.
Best way to display? A sunny window, hung with lightweight string or decorative wire.