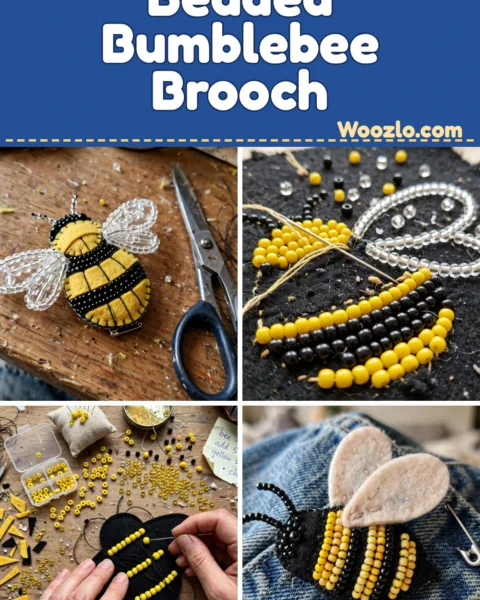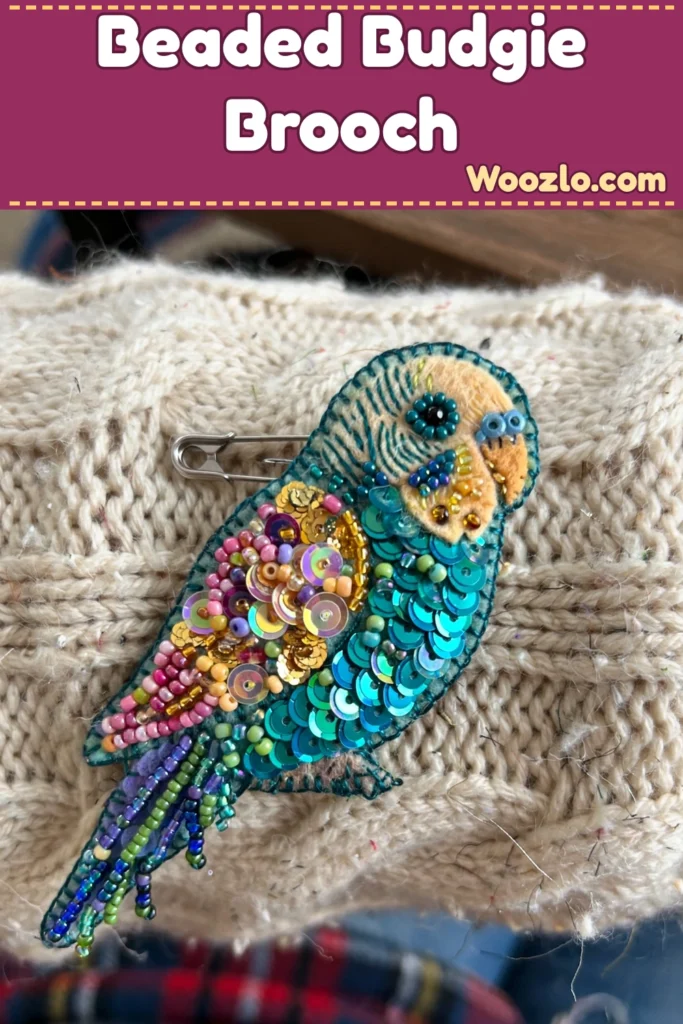
Create a Stunning DIY Beaded Sequin Budgie Brooch in Just a Few Steps
Imagine threading beads one at a time, the soft rustle of sequins, and the quiet satisfaction as a playful budgie takes shape on felt. This beaded sequin brooch is a tactile meditation — a way to slow down and sew a little piece of art you can wear.
From sketching the outline to attaching the sturdy brooch pin, it takes about an hour to a few hours depending on the level of detail. The finished brooch sits on a sweater, scarf, or bag like a small pop of color — a reminder of the mindful moment you spent making it.
Materials You’ll Need
- Colorful beads (any size — mix several shades to match your vision)
- Sequins (bright or muted, to create texture)
- Fabric or felt (a sturdy base — soft wool felt feels cozy)
- Embroidery thread (strong yet soft)
- A sewing needle (one that feels comfortable in hand)
- Brooch pin (sturdy enough for daily wear)
- Scissors
- Hot glue gun (optional — for a quicker attachment if sewing isn’t your preference)
Step 1: Sketch the Budgie
Sketch the outline of your budgie on the chosen fabric or felt. It doesn’t have to be perfect — playful shapes hold their charm.
Step 2: Cut It Out
Cut the shape out thoughtfully with scissors, feeling the fabric yield under your touch.
Step 3: Thread and Start Beading
Thread your needle with embroidery thread and tie a small knot at the end. Start with the beak or tail, attaching beads as you go to establish a unique design.
Step 4: Stitch the Beads
As you stitch, let the beads fall into place gently, creating a sequence that feels right. Secure them snugly but not too tightly — allow them to breathe with movement.
Step 5: Add Sequins
Add sequins between the beads, creating a shimmering effect that captures the light like the playful movement of a budgie.
Step 6: Glue Option
If using a hot glue gun, gently apply glue under your beads rather than sewing them in. This offers a quicker approach.
Step 7: Attach the Pin
Once satisfied with the embellishments, attach the brooch pin to the back of your creation. Make sure it sits securely.
Step 8: Admire Your Handiwork
Hold your finished budgie brooch in your hands and feel the satisfaction of creation — a little piece of joy you crafted with care.
Enjoying the Finished Piece
Wear it on a simple sweater, a scarf, or your favorite bag — each glance at your budgie brings back memories of creation, mindfulness, and presence. It also makes a lovely gift.
Storage and Refreshing
Store in a small lined jewelry box or soft pouch when not in use. Don’t soak in water — gently wipe with a soft cloth if it gets dusty. Want a refresh? Reuse the beads and sequins for a new creation.
Tips and Variations
- Color experimentation: Pastel shades for spring, rich jewel tones for autumn — match an outfit or season.
- Size variations: Tiny budgies for a subtle touch, larger ones for a bold statement.
- Textural elements: Add feathers or fibers for depth.
- Alternative shapes: Try owls or sparrows, drawing from your favorite birds.
- Botanical accents: Sew small flowers or leaves alongside your bird for a garden scene.
Quick Questions
What if I don’t have many beads? Fewer beads work fine — use larger or more unique ones.
Can I wash my brooch? Avoid soaking; gently wipe with a soft cloth instead.
Is this suitable for children? Yes, with adult supervision — use safety scissors and watch hot glue use closely.
How long does it take? Anywhere from an hour to a few hours, depending on detail.
Can I make several at once? Absolutely — make a whole flock to share or gift.