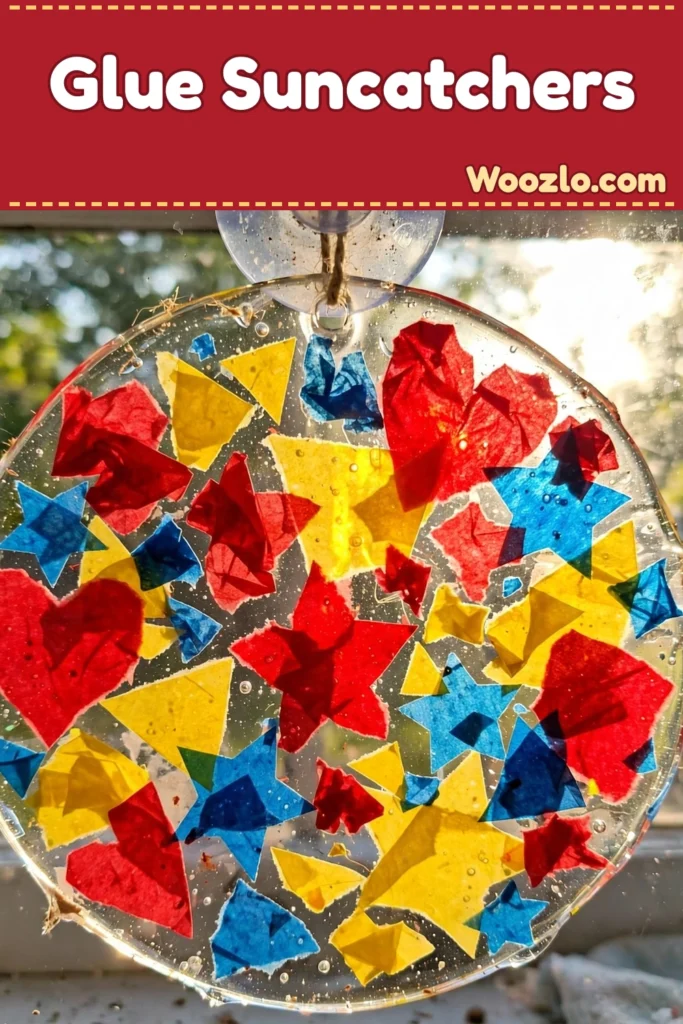
Create Colorful DIY Glue Suncatchers for Kids
Are you looking for a craft that’s part art, part science, and 100% mesmerizing? These clear glue suncatchers are it! My kids are completely fascinated by how a puddle of plain glue turns into a glowing, stained-glass masterpiece once the sun hits it.
The best part? This is super cheap and easy — clear glue, some tissue paper scraps, and a paintbrush are all it takes. Kids get to tear, spread, and layer, which is wonderful fine-motor practice, and the 24-hour drying wait builds the sweetest anticipation. It’s basically science, art, and pure kid excitement all rolled into one.
Supplies Needed
- Clear glue (dries clear and flexible — ideal for this project)
- Parchment or wax paper (prevents sticking)
- Colored tissue paper or dried flowers (to add vibrant hues)
- Scissors
- A paintbrush or your fingers (for applying glue)
- Optional: small beads or sequins (for extra sparkle)
Step 1: Prepare Your Workspace
Find a cozy area to craft. Lay down parchment or wax paper to protect your surface. Let your space feel inviting and inspiring.
Step 2: Cut Your Materials
Use scissors to cut colored tissue paper into small shapes or strips. Little hands love the tearing too — let them rip away!
Step 3: Spread the Glue
With your paintbrush or fingers, apply a layer of clear glue to the parchment paper. Kids adore this part — delight in the smoothness as you spread it evenly across the surface.
Step 4: Add Your Colors
Place the colored shapes onto the glue. Let them overlap or stand alone — there is beauty in both choices. Watch your little garden of color grow!
Step 5: Layer More Glue
Gently brush another layer of glue over the shapes. This adds depth and bonds them beautifully. The shiny surface reflects light, creating a calming effect.
Step 6: Let It Dry
Allow your creation to dry completely — most pieces take about 24 hours. This step encourages patience and anticipation as your suncatcher transforms into a delicate piece of art.
Step 7: Display Your Suncatcher
Once dry, carefully peel it from the parchment. Hang it up where sunlight can illuminate its colors, creating a vibrant display. Watch how the colors change with the light throughout the day — each angle reveals new beauties!
Fun Variations
- Experiment with shapes: Try leaves, flowers, or even photographs to embody different elements of nature.
- Play with light: Place your suncatcher against different backgrounds or light sources and notice the unique moods.
- Craft together: Engage friends or family — crafting together brings laughter and shared moments.
- Seasonal stories: Reflect the seasons in your color choices — each creation can narrate a story.
Quick Questions
Can I use other types of glue? You can experiment, but clear glue dries clear and flexible, making it ideal for this project.
What if it doesn’t come off the paper easily? Let it dry longer before gently peeling — patience brings lovely results.
Can I hang it outside? You can, but colors may fade over time from sun exposure. Indoor displays preserve its beauty longer.
How long does it take to dry? Drying varies, but most pieces take about 24 hours to dry completely.
Can I keep making more? Absolutely! Each suncatcher is a new exploration — a way to express changing moods and seasons.
Storing Your Suncatchers
Handle finished pieces gently and keep them in a safe, dry space away from direct sunlight to protect the colors. When inspiration strikes again, gather your materials and let your creativity bloom anew — there’s no limit to how many you can make!